Loading video…
All breakouts
3.3Talking HeadHow-To hookCreator Economy
Hook
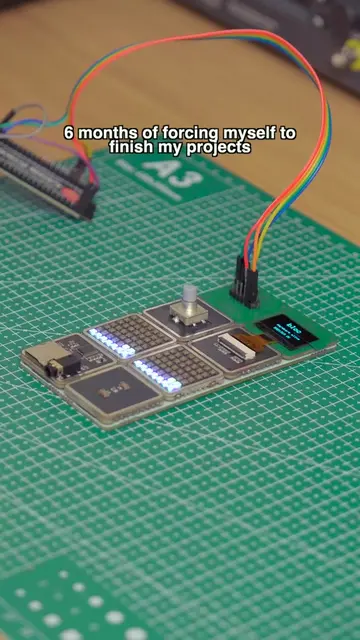
Building my y2k inspired mp3 player part 7
@madebydww_
12.3K followers · usually 17.2K views a post
Views
51.2K
Likes
4.6K
Comments
21
Shares
144
Why it worked
The video taps into nostalgia for Y2K aesthetics and the DIY/maker community's interest in custom electronics projects. The clear, step-by-step assembly process and the promise of future parts encourage viewer engagement and retention.
Summary
This video shows the assembly of a Y2K-inspired MP3 player, focusing on attaching the backplate, electronics, and buttons. The creator also mentions flipping the device to place the buttons on the bottom and notes that software adjustments are needed next.
Structure
- 1Introduction to part 7 of the Y2K MP3 player build
- 2Attaching the 3D printed backplate
- 3Installing the electronics and buttons
- 4Flipping the device for bottom-mounted controls
- 5Mention of necessary software adjustments
- 6Call to action for part 8
Call to action
Follow for part 8!
On-screen text
Building my y2k inspired mp3 player part 7
Part seven of
the Y2K inspired
MP3 player.
a backplate because most
people like the blue
and the translucent finish
I kept,
the look go.
Now assembly is as easy
as dropping the electronics
exoskeleton into the base,
attaching the buttons
and adding the translucent
for the keen observers,
face cover.
you'll see that we've
actually decided to flip
the whole device
so the buttons
on the bottom.
I still need
in software,
to get to next.
Follow for part 8!
Original caption
pt 7 of the y2k inspired mp3 player! #maker #mp3player #3dprinting #diyelectronics #buildinpublic
More from @madebydww_
More breakout videos from this creator.