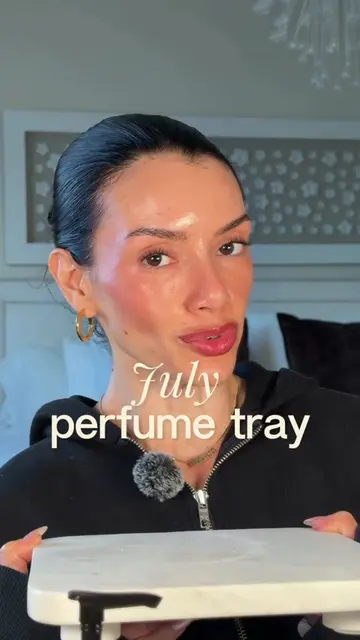
The video provides a practical, cost-effective solution to a common beauty concern, demonstrating a clear 'how-to' with a popular and accessible product. The creator's detailed explanation of technique, including the timing differences for different brow sections, offers valuable advice that viewers can easily replicate.
Summary
The creator demonstrates how to dye eyebrows at home using Just For Men Mustache & Beard Dye. She explains the process of applying the dye, emphasizing the importance of protecting the skin around the brows and varying the processing time for different parts of the brow to achieve a natural look. She also briefly mentions using GrandeBROW serum to promote eyebrow growth.
Structure
1Introduction and overview of at-home brow dyeing
2Demonstration of preparing the dye mixture
3
Original caption
Replying to @iloveyoumarlene this is how I dye my eye brows at home 🤍 #browroutine #browdye #eyebrowtutorial
More from @palomalasalle
More breakout videos from this creator.
Application of dye to the outer part of the brows
4Application of dye to the inner part of the brows with a shorter processing time
5Wiping off the dye and revealing the results
6Mention of a brow growth serum as a bonus tip
Product placement
Just For Men Mustache & Beard Dye (acts: used to dye eyebrows, visible result comes from it, creator explains its use); GrandeBROW (acts: used to grow eyebrows, creator states it made a big difference, visible result comes from it)
On-screen text
at-home brow dye
tutorial
Transcript
Who needs an eyebrow dye tutorial? I'm going to show you guys how I dye my eyebrows. It's really simple, but there is a method to it, and I've perfected it over the years. So when you buy your kit, it's gonna come with all these supplies. This is all you're really gonna need. I got a brand new box. This box with me dyeing my eyebrows every week or every other week lasts me a couple of years. And I only pay $10 on Amazon Prime. I always forget this step and whenever I do, I regret it. You want to do aquaphor or Vaseline or something around the perimeter of your brows to avoid dyeing your skin because your skin will dye if you don't do this. Just like that. We're gonna do equal parts of the color base. This is the color developer. You see that? Equal parts. And then we're gonna mix the colors. Just like this. Until it forms into a paste. We're not gonna use this fully yet. My favorite way to dye my brows is to go in with an angled brush. This is a Sephora 22 angled liner brush. Any angled shape. So what I do is I focus the color on the outer three-fourths of my brow, not so much the inner one-third. So what I do is I focus the color on the outer three-fourths of my brow. I do the other side as well. Because that's where I want the color to develop for the most and the longest. And I feel like an angled liner brush with the spoolie, because if you think about it, when you're doing your brows, this is how you're drawing the shape, right? So I feel like an angled liner brush with the spoolie. I'm going to take the spoolie and just clean up around the edges. Now that the outer three-fourths are done, I will take my spoolie, any spoolie, and just lightly paint the inner third of the brow. Try your best not to touch the skin because we don't want the front part of our brow to be blocky. We're not going for a 2016 brow look or maybe you are, but I'm not. I am very lightly handed with the inner third of my brow. I'm going to take the same cotton swab and just clean up around the edges. This is where it's important. I do eight minutes for the outer three-fourths of my brow and I only do three minutes for the inner third. So I'm going to set my timer. This is what it looks like. I'll be back in a few minutes. Things are happening now. Three minutes have passed. I usually do this over my sink in my bathroom. I'll spray my spray bottle, wet it, and then just wipe it off. We still need five more minutes for the outer part to develop. In the meantime, I cleaned off my workspace. I'm going to put my things back in their compartment, ready for me to use again next week. I also cleaned off my brushes. They're ready to go. Now, I can reveal the brow. So do you see how the inner part isn't as dark? Number one, because we didn't put as much dye, and number two, because we only let it sit for three minutes. The outer three-fourths, we only let it sit for three minutes. It honestly makes such a difference. I just don't think it's worth paying for a brow dye service when I can do it myself at home for a fraction of the price. Bonus tip, if you're looking to actually grow your eyebrows, I started using a brow serum a couple months ago and it's actually made a really big difference, especially on the tail of my brows. But that is how I do my weekly brow dye routine. It takes like an hour for the color and the result to fully develop. So this is what it looks like an hour later. This is my perfect brow routine. No gel, no pencil, no nothing. And they're gonna look like this for an entire week. Imagine that. So this is what it looks like. This is my perfect brow routine. No gel, no pencil, no nothing.