Loading video…
All breakouts
49.5OtherOther hookCreator Economy
Hook
diyjoy
@diyjoycrafts
310.8K followers · usually 6.5K views a post
Views
301.4K
Likes
4.5K
Comments
16
Shares
350
Promoted product
Halloween banner
Why it worked
The video provides a clear, step-by-step tutorial for a budget-friendly and festive Halloween decoration, appealing to viewers looking for easy DIY craft ideas. The use of recycled materials also adds to its appeal.
Summary
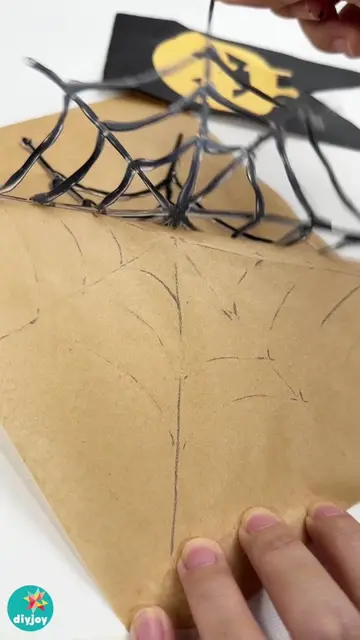
This video shows how to create a "Happy Halloween" banner using recycled toilet paper rolls, acrylic paint, and paint markers. The process involves cutting and painting the cardboard rolls to form banner flags, decorating them with letters and a jack-o'-lantern, and then assembling them with other Halloween-themed decorations like bats and spiderwebs.
Structure
- 1Prepare cardboard rolls for banner flags
- 2Paint and decorate banner flags with letters and a pumpkin
- 3Create and assemble paper bats
- 4Assemble the "Happy Halloween" banner
- 5Display the finished Halloween decorations
Product placement
diyjoy: appears as a watermark on the bottom left of the screen. Removing it would not change what happens in the video.
Liquitex Professional Heavy Body Acrylics: used to paint a banner black. Removing it would change the appearance of the banner.
Posca paint markers: used to draw details on the banner (letters and pumpkin face). Removing them would change the appearance of the banner.
Original caption
🦇Make this DIY Happy Halloween banner with toilet paper rolls, acrylic paint, and Posca paint markers! Then finish your spooky display with easy 3D cardstock bats using my FREE printable bat template. 🎃👻This budget-friendly Halloween craft is perfect for mantels, parties, classrooms, and festive home decor. 🎃 Save this easy Halloween decoration idea for October #halloweencrafts #halloweendecor #spookyseason #crafty #papercraft
More from @diyjoycrafts
More breakout videos from this creator.