Loading video…
All breakouts
89.5Talking HeadHow-To hookCreator Economy
Hook
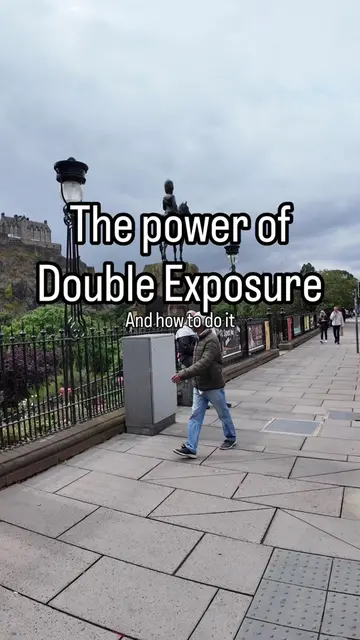
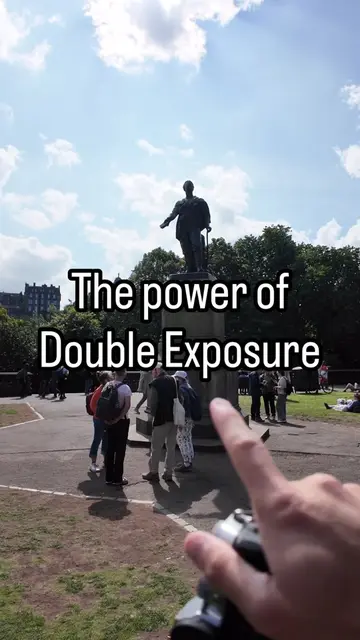
The power of Double Exposure
@aguywithacamera_
134.0K followers · usually 14.3K views a post
Views
1.3M
Likes
113.3K
Comments
395
Shares
2.2K
Why it worked
The video effectively demonstrates a creative photography technique using in-camera features, making it visually engaging and educational for aspiring photographers. The clear explanation and visual examples simplify a potentially complex process.
Summary
The video demonstrates how to create a double exposure photograph in-camera using a Fujifilm camera. It explains that the camera compares brightness between two shots and keeps the brighter pixels, allowing for creative blending of subjects and backgrounds.
Structure
- 1Introduction to double exposure
- 2Demonstration of a standard photo of a statue
- 3Explanation of the in-camera double exposure technique
- 4Taking a second photo of a bush to blend with the statue
- 5Showing the final double exposure result
Product placement
Fujifilm (camera): APPEARS - a corner watermark, its removal would not change what happens in the video. The video shows a Fujifilm camera being used, but the focus is on the technique, not the camera itself. The brand name is mentioned in the creator's bio, but not in the spoken transcript or on-screen text during the main content.
Call to action
Save this post for next time you try out
On-screen text
The power of
Double Exposure
Most people would see
shot over there and take
picture of that looks
that already looks nice,
I'm going to change it up
double
So I'm going to take a
picture of that again
Another second picture,
going to go down and try
take a picture of, let's
Now, it's only going to
replace the lighter
the picture
So anything that's
the second picture than
was on the first picture
will
remain untouched
So I'm just going to
second picture of that
bush
So I'm going to line
so it covers the whole
of the picture that I
the first time and it's
going
to look something like
this
Original caption
This is two exposures (double exposure) merged in-camera using comparative light mode. It compares brightness pixel-by-pixel across both frames and keeps whichever is brighter. The statue was the darker of the two, so the second frame (the bush) only shows through where it’s brighter than the first picture. Anything darker remains untouched. That’s the trick. Give the camera a dark subject and a bright background, and light mode does the blending for you Save this post for next time you try out double exposure #explore #multiexposure #shotonfujifilm #fujifilmxt5 #fujifilm
More from @aguywithacamera_
More breakout videos from this creator.