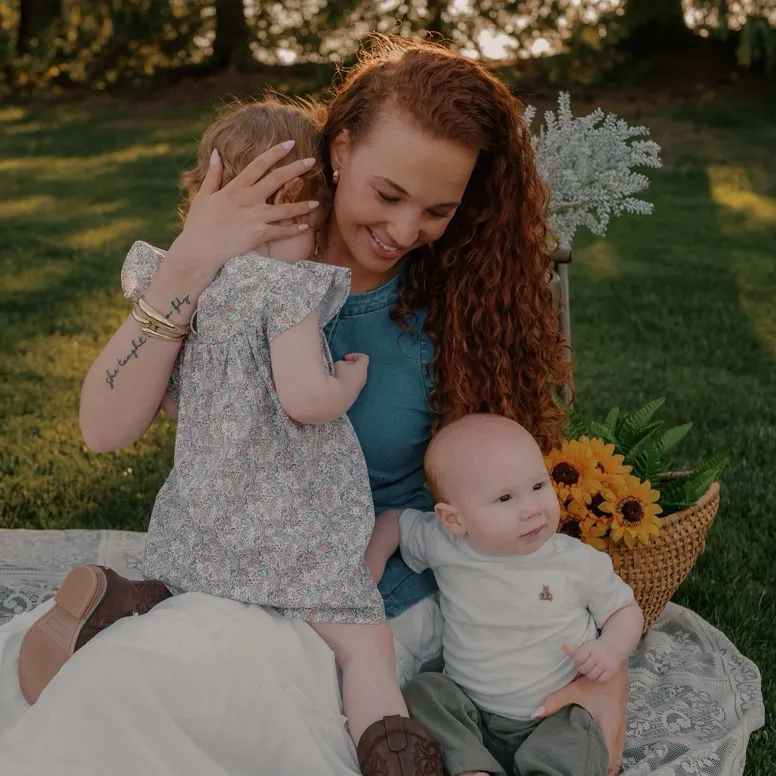
The video succeeds by combining a relatable 'day-in-the-life' narrative with a practical, step-by-step tutorial that solves a common problem (nails falling off). The creator's personal credibility as a busy mom and nurse makes her endorsement feel authentic and trustworthy.
Summary
The creator demonstrates her process for applying BTArtbox press-on nails to ensure they last for several weeks. She highlights the importance of using a quality nail glue, like NYK1 Nail Bond, and shares personal tips for maintaining the nails while being active.
Structure
1Introduction to the press-on nail process
2Explanation of the 'right before bed' application rule
3Demonstration of sizing and applying the tips
4
Original caption
I meannnn…how perfect are these @BTArtboxnails for fall!?🤎 And the quality is amazing…I’m obsessed! Also a great canvas if you want to add your own design on top as well! Link in bio for 10% off with code “Carli10” 🔗🥰 happy nail shopping!!! #btartboxnails #xcoattips #pressonnails #athomenails #pressontips
More from @carli.kralick
More breakout videos from this creator.
Introduction of the NYK1 nail glue
5Discussion of the creator's active lifestyle and why she prefers press-ons
6Final curing step and recommendation of the product
Product placement
BTArtbox nails: (a) ACTS — the creator demonstrates applying them, explains how to size them, and uses them as a base for a manicure. Removing this would change the entire video. NYK1 Nail Bond: (a) ACTS — the creator demonstrates applying it to the nail and the press-on tip to secure them. Removing this would change the video.
Call to action
Link in bio for 10% off with code "Carli10"
On-screen text
Do my press ons with me.
Link in bio for 10% off with code "Carli10"🥰🥰
Transcript
Do my press ons with me. And yes, these will last me three to four weeks. BTArtbox sent me the most beautiful X-Coat Tips. I cannot wait to put these on. You guys loved my last video telling you all my tips and tricks on how I get my press-ons to last three to four weeks, and I figured, let's do another video together. I already prepped my nails. I did another video showing that, but I will show you guys exactly how I apply these. My number one rule: you do them right before bed. That is the number one rule. So many of you guys were amazed by this, and then other people that live by this rule also were like, yes, that is so important. You guys are always going to see me in my pajamas when I do these nail videos because I always do them right before bed. All right, so like I said, I already prepped. Now I'm just going to size my nails and have them all laid out and ready to go. And I decided on these gorgeous brown tips. The package they sent me had a bunch of different shades and colors that are so fun for the fall. Especially if you're creative, you can do all different types of designs on top, but I'm just going to go with these brown tips for now. All right, so I've prepped my nails. I've put on my dehydrator. Now let's glue them on together. Like I said in my last video, one of my most important tips that I preach to people about getting their press-ons to last is picking a good, solid nail glue. This one is my favorite, NYK1 Nail Bond. It's so good. We are going to brush a light layer on the nail. Then we're going to take the nail, brush a light layer on the back, and then we're going to do that little dollop right there. Apply at a 45-degree angle from the cuticle down, and you're going to hold for like 30 seconds to a minute. And I'm holding tightly. And there we go. I'm going to do that for all my other nails, same process. Coat on the actual fingertip, put a light coat on the back of the nail with that little dollop, go in at the cuticle, press down at a 45-degree angle, hold with a lot of force for 30 seconds to a minute. I'll see you when I'm done this hand. And voila. All right, and now I'm going to do the next hand. I was going to just do this off camera, but then I realized I wanted to yap a little bit. A lot of you guys on my last video, you were asking like, do I do a lot with my hands? Am I active? You guys, yes, I'm very active. I'm using my hands all the time. I think that's why I'm so in love with press-on nail life because I just mastered how to do these at home and how to get them to last. And I am someone who's constantly using my hands. I have two young kids. I'm a nurse in the hospital, an aesthetic nurse that injects. I work out. Like I'm literally using my hands all the time. I'm constantly doing the dishes, laundry, mom mode, nurse mode, all the things. When I had my daughter two and a half years ago, I was just like, it's not realistic for me to go to the nail salon and sit here for two hours. And I looked into press-on nails and here I am, two and a half years later, and I'll literally never go back or do it any other way. So that's why when people ask me, I'm like, let me tell you all my tips and tricks. You guys are going to fall in love with doing press-on nails. Brands like BTArtbox, they make such cute, high-quality nails that you literally can't even tell that they're nails that I did at home. So, yeah, I could yap a lot about how much I love press-on nails because they work so well, and once you master it, you will never go back. All right, now I really am going to finish this hand. I will say, I saw another video that said your first set of press-on nails is like always a failure, which I do warn people. I feel like it is one of those things that just takes practice, so don't give up after the first set. First time I ever did press-on nails, I'll never forget, it I literally had a pop off the next morning and I was like, what the hell? But I think that's normal. Just like when you learn any new skill, you're not going to be great at it at first. It takes some practice, so don't give up after the first set. And voila. Now I'm just going to file like the little tip where it was connected because there's just like that little tiny like tag right there. So pretty. Now this is the time where if you wanted to add like any type of design, you would do that. I'm not going to do that because I just really like the brown tip and I'm also not that crafty. So now I'm just going to add the builder gel and the top coat on top and cure them. This specific X-Coat Tips by BTArtbox has this step that it allows you to, like I said, put the design on and then put the top coat on and cure it. But if you get like other press-on nail sets, this last little step that I'm about to do isn't always required. So now I'm just doing the top coat and curing them under my lights. All right, and there we have it. These will last me three to four weeks. I promise you guys, you can master the art of press-on nails if you follow my tips. I'll show you guys a closer-up video when I love these. These are gorgeous. These X-Coat Tips specifically would be really great if you're someone who likes doing a design on your nails. They're still absolutely beautiful without a design, but they give you like a really nice starting point and then if you want to add to them you can, prior to doing the top coat and curing them. Let me know if you guys have any question. Thank you BTArtbox, I love these. They're so stunning. Bye.