Loading video…
All breakouts 2 videos
3.5Talking HeadHow-To hookLifestyle
Hook
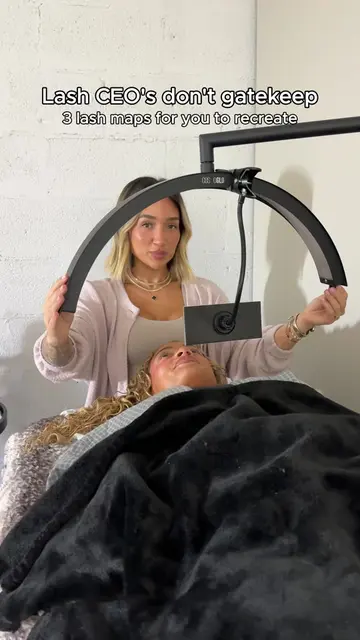
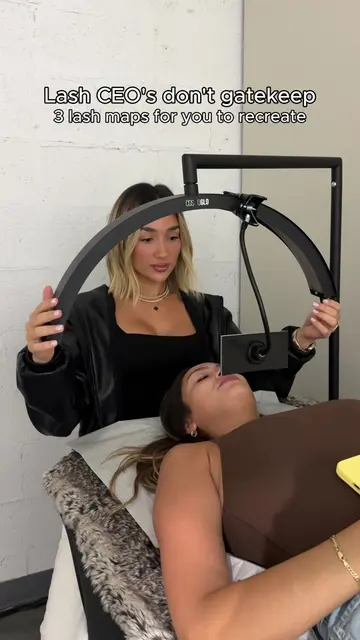
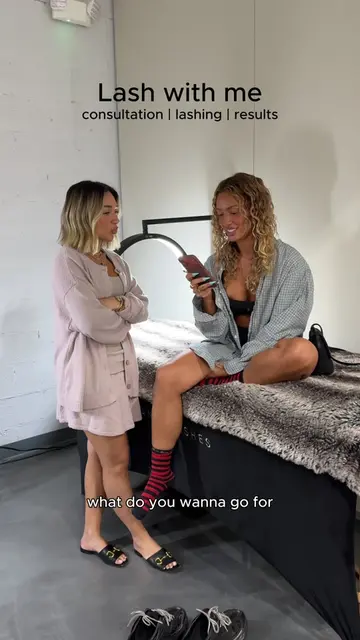
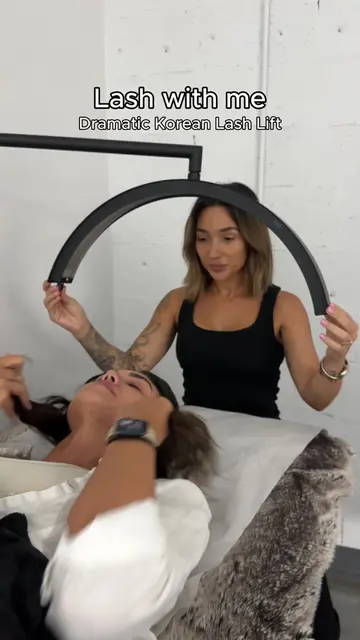
Lash with me full wispy set in under an hour
@lannalashes
310.9K followers · usually 4.5K views a post
Views
16.9K
Likes
542
Comments
10
Shares
19
SoundTikTok sound · TDR
Promoted product
Lanna Lashes
Lanna Lashes Home
Why it worked
The video effectively uses a 'before and after' format combined with a demonstration of a specific technique (wispy lashes) to showcase the product's results. The use of on-screen text clearly explains the products and methods used, making it informative and visually appealing.
Summary
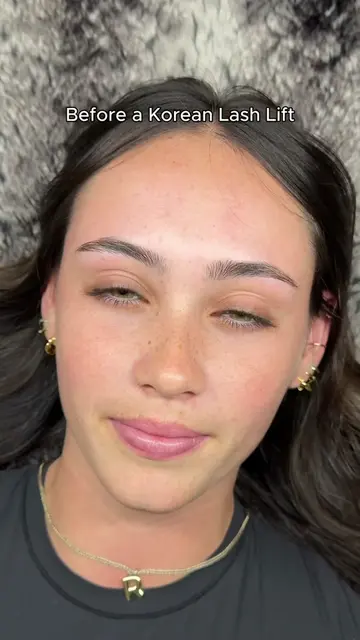
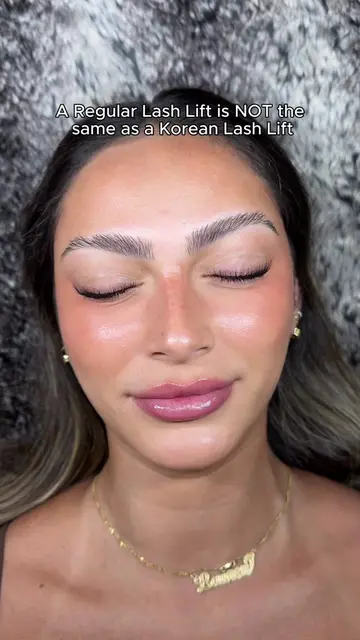
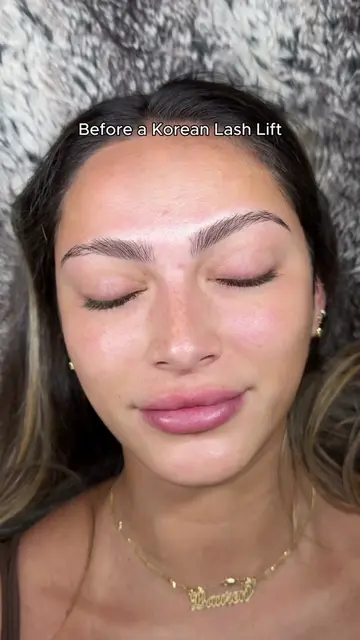
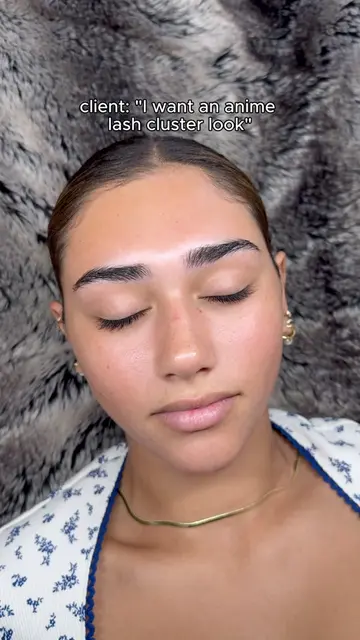
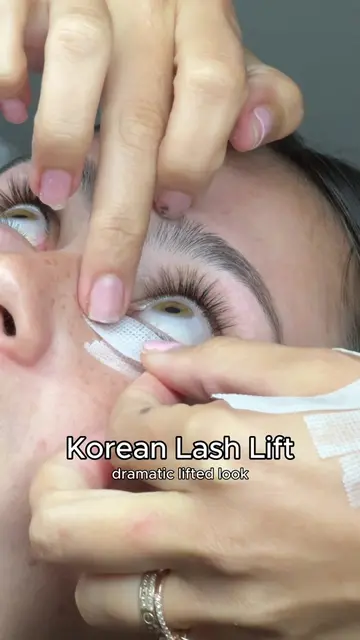
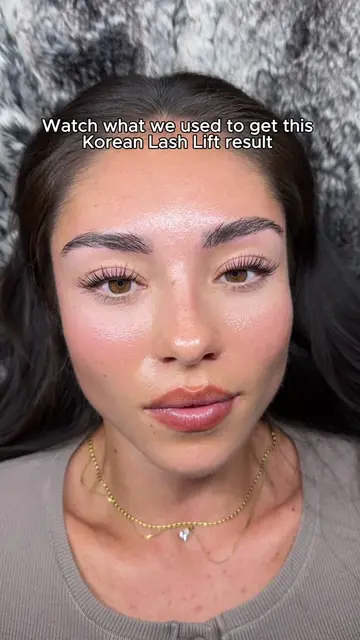
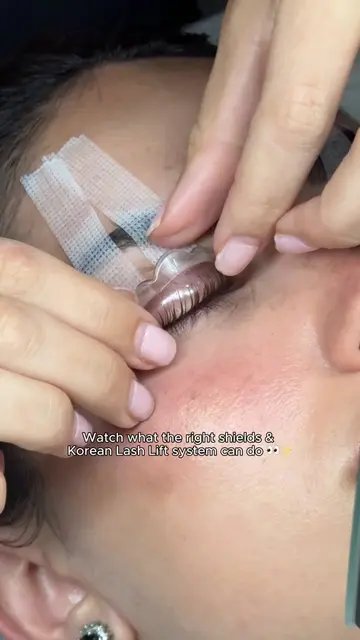
The video demonstrates the process of applying a full wispy lash set. It begins with a 'before' shot, then shows the application using Pro Grip Tape, Gel Cleanser, Premade Closed Fans for spikes, and U Lashes for an airy look. The video concludes with an 'after' shot showcasing the completed lash set.
Structure
- 1Introduction: Lash with me
- 2Before shot
- 3Application: Taping, marking, using gel cleanser and premade fans
- 4Creating spikes and airy look
Original caption
Create this wispy set with me using ONLY premades!😍 Using our Gel Cleanser + premade closed fans to create SPIKES, and our U Lashes for an airy look on the bottom layer!✨ #lashinspo #wispylashes #lashextensions #lashartist #lashtutorial
More from @lannalashes
More breakout videos from this creator.