Loading video…
All breakouts
10.9Silent UGCHow-To hookCreator Economy
Hook
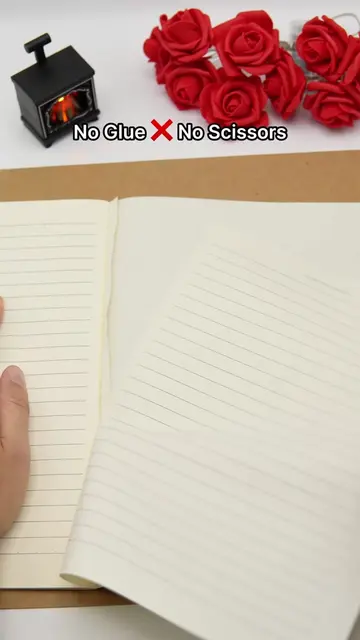
Today we are making a pretty notebook paper rose.
@diywithmaya
178.7K followers · usually 39.9K views a post
Views
434.7K
Likes
16.2K
Comments
68
Shares
2.8K
Why it worked
The video is a visually appealing and easy-to-follow DIY tutorial that uses readily available materials. The step-by-step process, combined with clear on-screen text, makes it accessible for a wide audience interested in crafting and home decor.
Summary
The video demonstrates how to create paper roses from notebook paper. It shows the process of cutting paper into petal shapes, rolling them, and assembling them onto a stem to form a rose. The tutorial also includes instructions for making paper leaves and attaching them to the stem.
Structure
- 1Prepare paper squares for petals
- 2Cut petals from paper squares
- 3Roll and shape petals
- 4Assemble petals onto the stem
- 5Create and attach paper leaves
On-screen text
Today we are making a pretty notebook paper rose.
It is very easy. You can use any paper
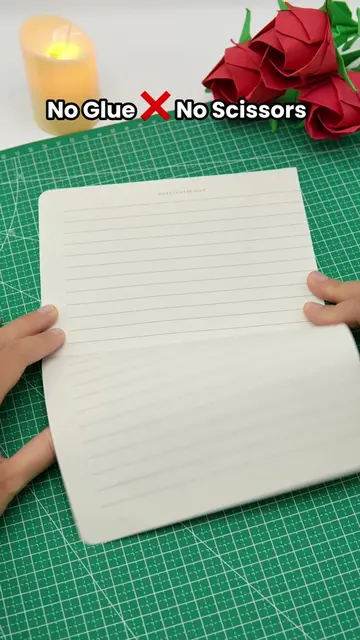
I am using simple notebook paper
Newspaper, notebook paper, or book pages all work
Cut here too
We need four same-size squares, about 10 x 10 cm
Like this
Cut all the paper pieces like this
Take one piece. Cut off one petal.
For the second piece, cut off two petals
For the third piece, cut off three petals
We do not need the extra piece
Keep only one small petal
Now we will roll the paper rose petals
Cut a small slit
You can shape the curve here
Roll it a little
Make it nice and round
Now the two-petal piece
Put on the two-petal piece
Now the three-petal piece
Now the four-petal piece
Put a little glue on each layer first
Now the five-petal piece
Last, add the seven-petal piece
Now let's make the paper rose leaves
I will use the same paper as before
These are for the leaves
Fold it 3 to 5 times
Cut a leaf shape
Three paper leaves are done
Glue the leaves on
Like this
Then glue it onto the flower stem
You can also add more leaves on this side
Original caption
Turn Notebook Paper into Beautiful Roses with Leaves 🌹 #paperrose #paperflower #floresdepapel #flowermaking #handmadeflowers
More from @diywithmaya
More breakout videos from this creator.