Loading video…
All breakouts
24.8Talking HeadHow-To hookLifestyle
Hook
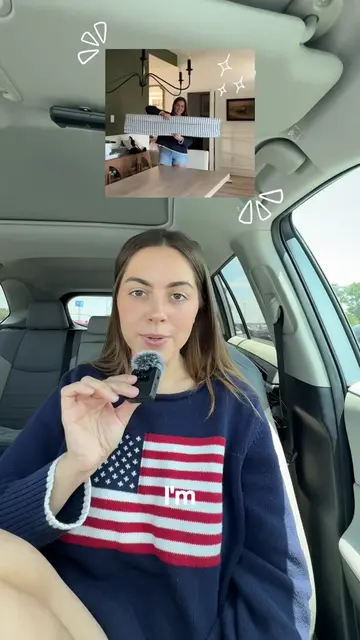
part two of turning $15 cordless blinds into diy roman shades!!
@typicalmadij
6.7K followers · usually 735 views a post
Views
18.1K
Likes
1.3K
Comments
40
Shares
166
Why it worked
The video provides a clear, step-by-step tutorial for a popular DIY home decor project, using readily available materials. The creator's detailed instructions and demonstration of a successful outcome make it relatable and achievable for viewers.
Summary
The creator demonstrates how to turn inexpensive cordless blinds into DIY Roman shades. The process involves carefully marking and cutting away excess blind slats, then attaching the fabric to the remaining blind structure using hot glue. Finally, the finished Roman shade is installed on a bathroom window.
Structure
- 1Prepare blinds by marking slats to keep
- 2Cut away excess blind slats
- 3Lay fabric and position blinds
- 4Secure fabric to blinds with hot glue
- 5Attach fabric to the edges of the blinds
- 6Install the finished Roman shade
On-screen text
part
DIY
Roman
go
much
possibly
first
blinds
marked
starting
first
top
one
four
marked
an
X
counting
the
down
sides
that
once
marked
to
the
slats
careful
any
because
allow
raise
cutting
basically
next
fabric
the
facing
and
blinds
with
facing
tell
side
because
small
wand
open
slats
side
fabric
are
kept
into
was
everything
blinds
out
fabric
my
everything
was
realized
bought
only
length
fact
much
to
four
extra
bottom
them
made
tape
this
blinds
fabric
while
tight
gluing
down
hot
rounded
side
not
of
slat
attached
side
facing
blinds
table
only
sections
so
secure
everything
finished
edges
slats
I
fabric
of
same
top
corners
as
present
perfect
able
its
anyways
4
extra
over
glued
to
of
finished
back
finished
definitely
light
back
finished
Original caption
part two of turning $15 cordless blinds into diy roman shades!! i tried to share every detail, but if you have any other questions, leave them in the comments! ##diyromanshades##buildergradeupgrade##diyhomedecor##ugccreator##diyblinds
More from @typicalmadij
More breakout videos from this creator.