Loading video…
All breakouts
15.5Talking HeadHow-To hookCreator Economy
Hook
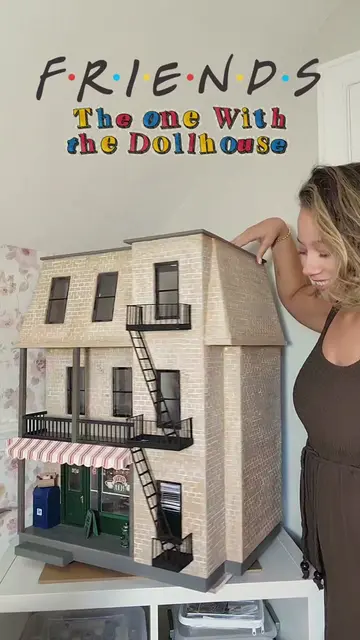
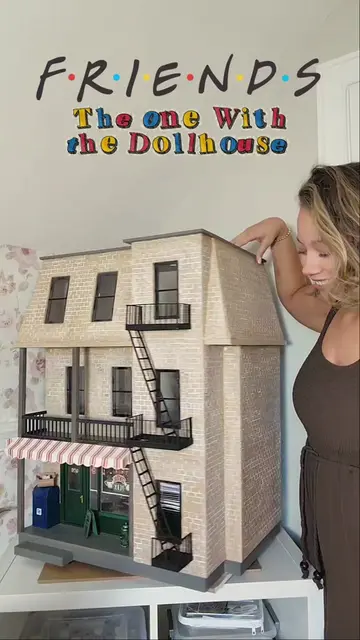
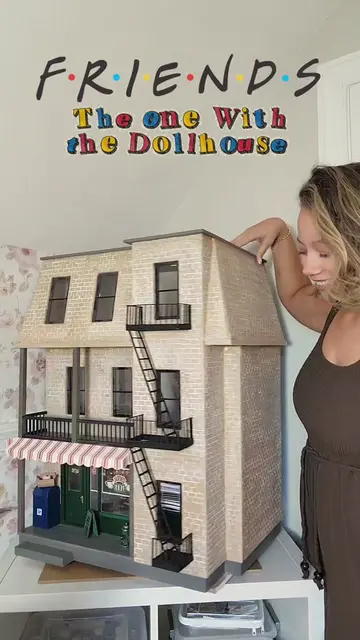
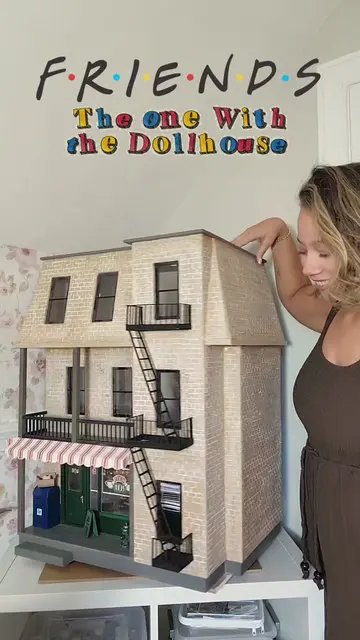
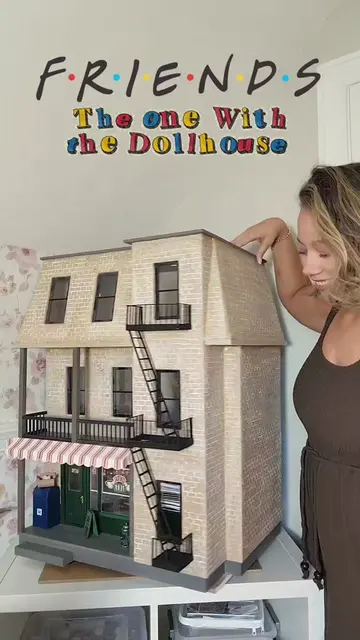
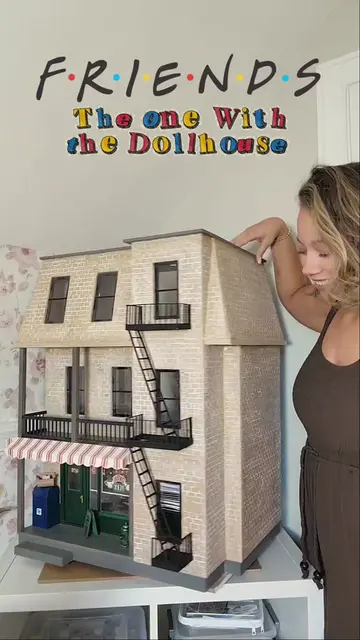
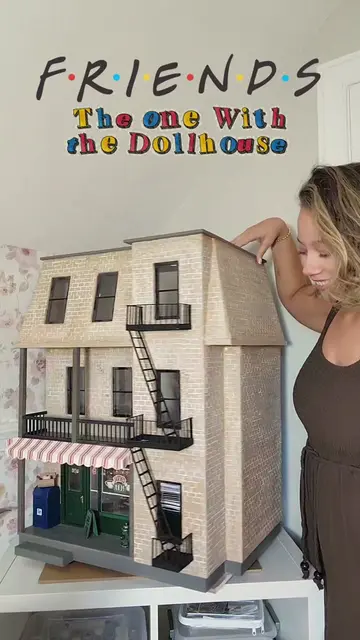
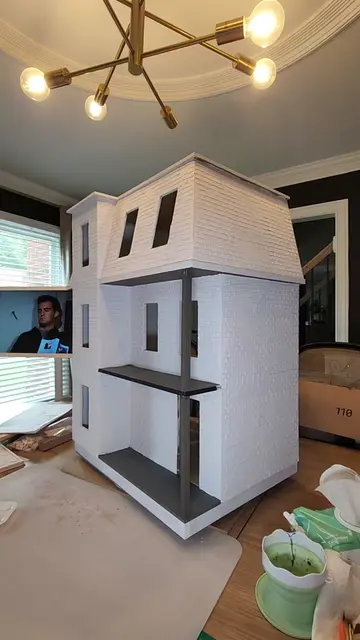
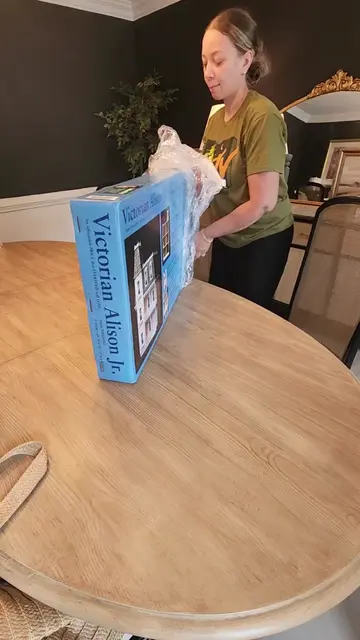
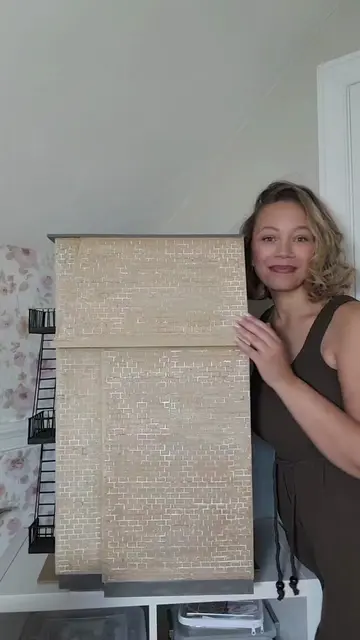
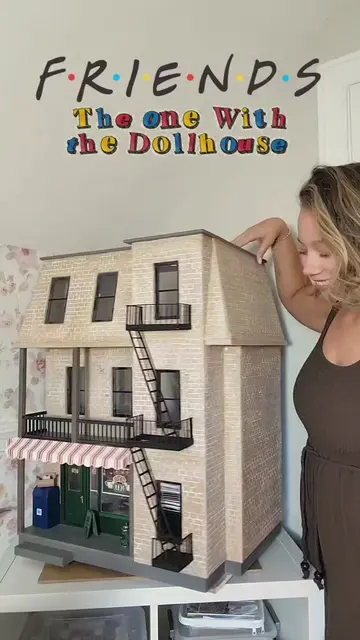
Part 3 - DIYing mt 1st dollhouse! 🏠 We are bricking the house today!
@kaneshiashana
132.0K followers · usually 12.3K views a post
Views
170.2K
Likes
10.7K
Comments
100
Shares
246
Promoted product
DryDex Joint Compound
Why it worked
The video demonstrates a creative and accessible DIY project, showing a step-by-step process for achieving a realistic brick texture on a dollhouse. The creator's clear explanations and relatable struggles (like realizing more work is needed) make the content engaging and informative for viewers interested in similar crafts.
Summary
The creator is working on the exterior of a DIY dollhouse, applying a brick texture using spackle and a stamp. They explain the process of applying the spackle in layers and waiting for it to dry before stamping, and also cover up a window that is no longer needed. The creator notes that they still have a significant portion of the dollhouse left to brick before they can move on to painting.
Structure
- 1Working on the exterior of the dollhouse
- 2Applying brick texture with spackle and stamp
- 3Explaining the process and waiting for drying
- 4Covering an unnecessary window
Original caption
Part 3 - DIYing mt 1st dollhouse! 🏠 We are bricking the house today! #dollhouse #Victorianalisonjr #minature #dollhousemakeover
More from @kaneshiashana
More breakout videos from this creator.