Loading video…
All breakouts
10.1Talking HeadOther hookLifestyle
Hook
PLANT I'LL
@bravepot
6.8K followers · usually 10.7K views a post
Views
102.6K
Likes
4.2K
Comments
80
Shares
393
Why it worked
The video provides a clear, step-by-step tutorial on a popular plant care technique (using a moss pole), which appeals to a niche but engaged audience. The visual demonstration combined with concise instructions makes it easy to follow and replicate.
Summary
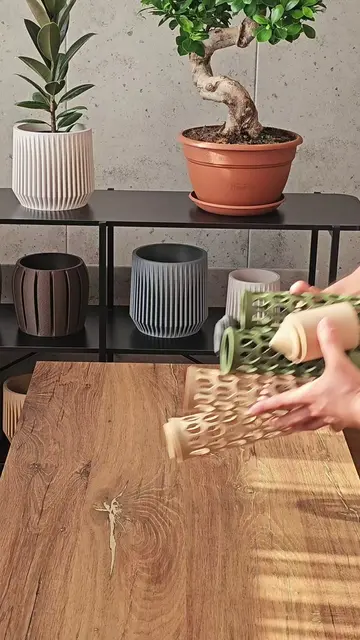
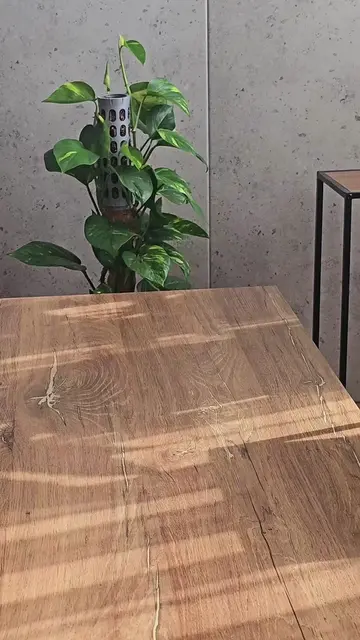
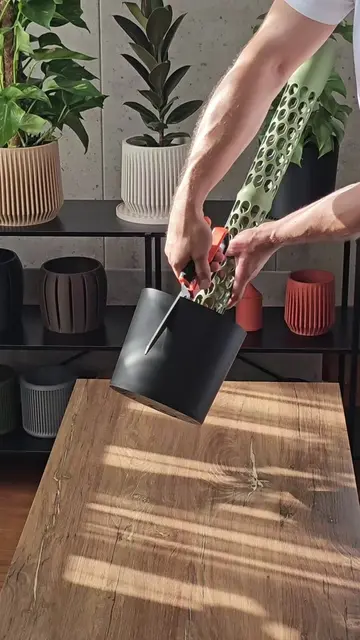
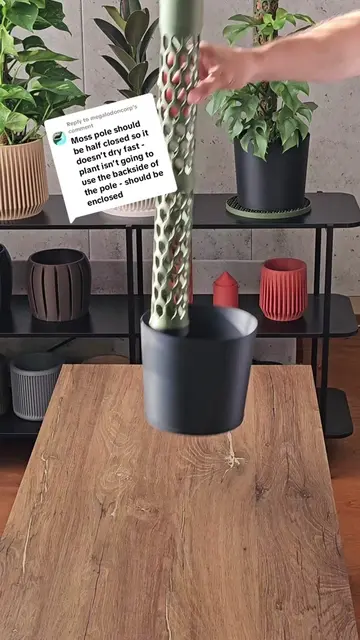
The video demonstrates how to assemble and fill a modular moss pole planter with sphagnum moss, then repot a Rhaphidophora plant into it. The creator explains the soil mix and how to secure the plant to the pole, encouraging root growth and moisture retention.
Structure
- 1Gathering materials for the moss pole
- 2Assembling and filling the moss pole with sphagnum moss
- 3Preparing the potting mix and repotting the plant
- 4Securing the plant to the moss pole
Original caption
POV: You finally give your climbing plant the support it deserves. This Rhaphidophora is now planted in a modular moss pole planter. The real magic happens over the next few months as it climbs, roots into the moss, and starts producing bigger leaves. Let's see how much it transforms. #plants #PlantTok #mosspole #rhaphidophora #aroids
More from @bravepot
More breakout videos from this creator.