Loading video…
All breakouts
27.4App DemoOther hookConsumer Apps
Hook
How NOT to ruin your iPhone 13 while removing back glass
@digi4umobileparts
26.7K followers · usually 7.9K views a post
Views
204.5K
Likes
896
Comments
7
Shares
142
Promoted product
iPhone 13https://www.digi4u.co.uk/ ↗
Why it worked
The video likely performed well due to its niche appeal to DIY repair enthusiasts and those seeking to understand phone repair processes. The visual demonstration of a delicate repair, combined with the clear 'how-not-to' framing, offers practical value and satisfies curiosity.
Summary
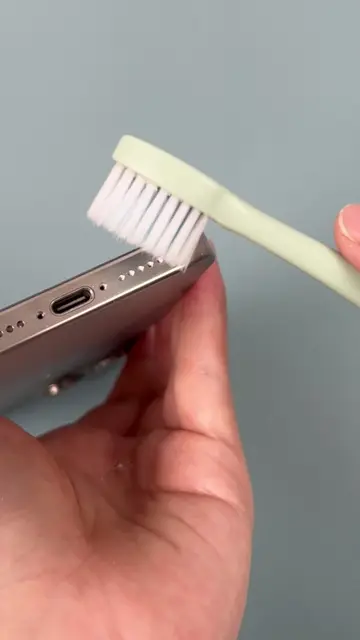
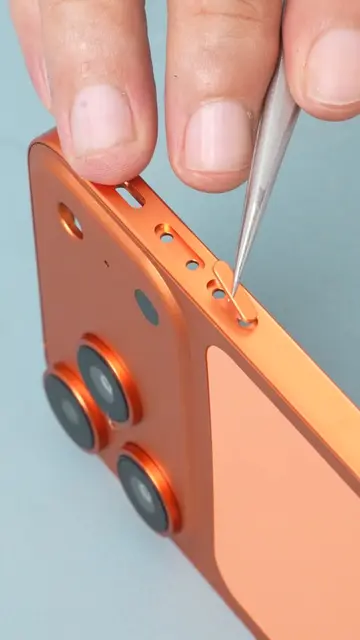
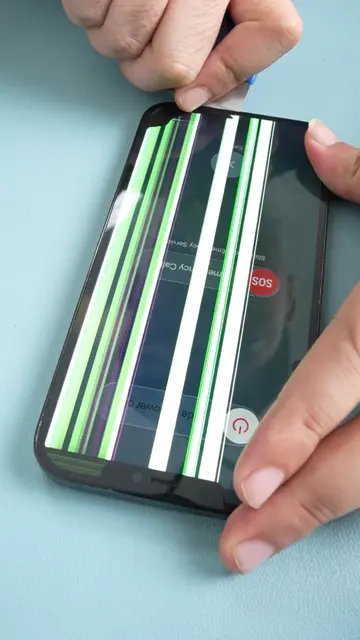
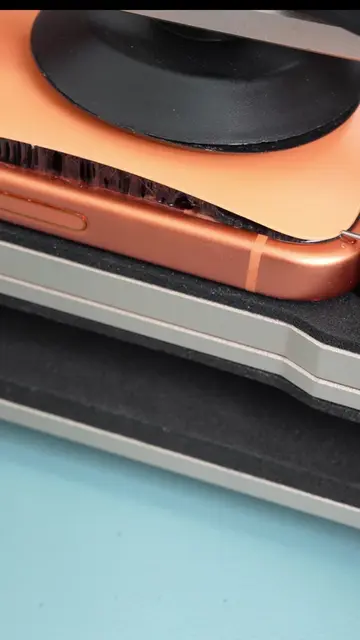
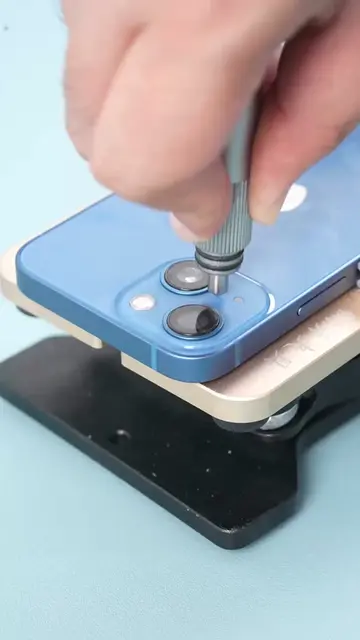
This video demonstrates the process of removing the back glass of a cracked iPhone 13. The creator uses tools to carefully pry off the damaged glass, revealing the internal components of the phone, including the wireless charging coil.
Structure
- 1Start with a cracked iPhone 13 secured in a jig.
- 2Use a tool to carefully remove the broken back glass.
- 3Peel away layers of glass and adhesive.
- 4Expose internal components like the wireless charging coil.
- 5Continue removing remaining glass fragments.
Product placement
iPhone 13 (acts - the device being repaired, removing its back glass is the central action of the video, and its removal is necessary to proceed with the repair, so removing it would change what happens in the video); Apple logo (appears - a logo on the phone's back, removing it would not change what happens in the video)
Original caption
How NOT to ruin your iPhone 13 while removing back glass #diyphonerepair #iphonerepair #iphone13 #Digi4u #mobilerepair
More from @digi4umobileparts
More breakout videos from this creator.