Loading video…
Sound

original sound - devilss.ivy
Devil’s Ivy Designs | Myka · Original audio
0:00–:––
Playing this video’s own audio, so you’ll hear the creator over the sound.
The video provides a clear, step-by-step tutorial on a specific jewelry-making technique, appealing to a niche audience interested in DIY crafts. The use of on-screen text and close-up shots makes the process easy to follow, and the creator's mention of common names for the components adds helpful context.
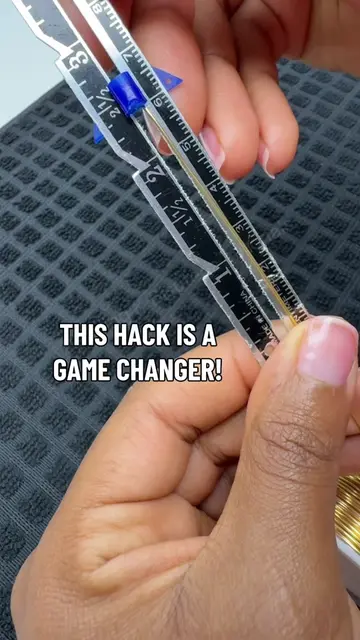
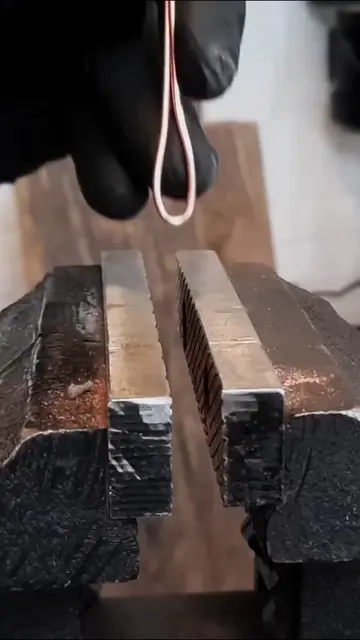
This video is part one of a tutorial on how to make hammered fringes for earrings. The creator demonstrates how to cut wire to size, create a loop, and then hammer the back of the fringe for a finished look. They also showcase the tools used, including specific pliers and a heavy stamping hammer.
Part one of how to make hammered fringes! After sharing my video showing me making one of these in under a minute, I had a ton of people interested in a more in depth tutorial. I hope this can help those of you who are struggling as much as I was when I first learned this technique! 💖 Parts 2 &3 will be posted immediately after this 😊 . . . #wirewrappedjewelry #handmadejewelry #hammeredjewelry #hammered #DevilsIvyDesigns
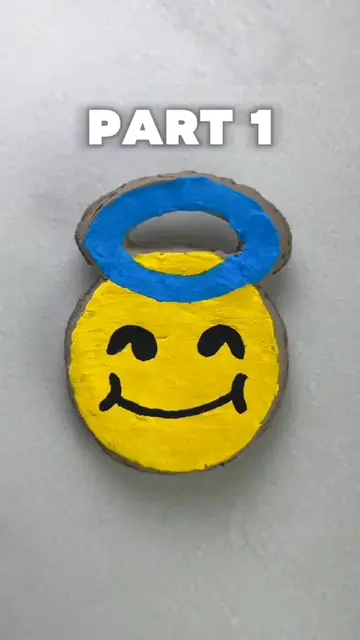
PART 1
Introduction to making hammered fringes
Demonstration of cutting and looping wire
Explanation of tool choices (pliers, hammer)
Hammering the back of the fringe for a finished look
ParaWire Premium Quality Wire Bare Copper 18 Gauge (ACTS - used to make jewelry, removing it would change the video's outcome). Metal stamping hammer and block (ACTS - used to hammer jewelry, removing it would change the video's outcome). Six step pliers (ACTS - used to make loops in wire, removing it would change the video's outcome). Flush cutters (ACTS - used to cut wire, removing it would change the video's outcome). Round nose pliers (APPEARS - mentioned as an alternative to six-step pliers, removing it would not change the video's outcome).
Playing this video’s own audio, so you’ll hear the creator over the sound.
Bare copper craft wire for jewelry makers
All time.
Outliers and viral hits: their videos on Overshot, all time.