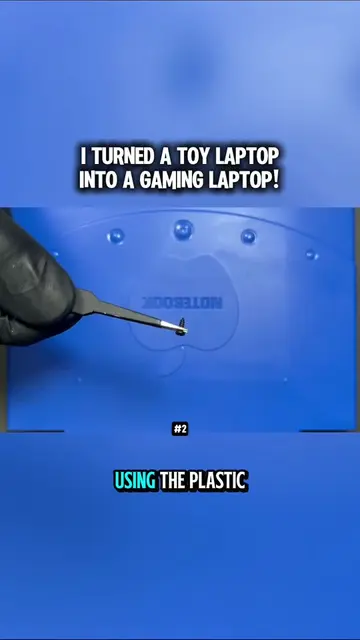
I need a bottom of the case to be as flat and open as possible. Once those were gone, I started experimenting for different layouts for all the components. This part is actually more important than it looks. Everything, so I need everything positioned carefully so there's enough room for the wiring later, while still keeping the entire build as compact and organized as possible. Moving times. I think this is the best layout. First I secure the Pi zero 2 W using four small plastic standoffs and screws, making sure the board couldn't move around inside the case. Then I did the same thing with the display controller board, mounting it firmly next to the Pi. And with that done, I'd say we're officially about 50% through the way through this project. But unfortunately, the remaining 50% is probably going to be a lot harder and almost immediately I ran into another major problem. Both the Raspberry Pi and the display controller used mini HDMI for video. So naturally, I needed a cable with mini HDMI ends on both ends. Sounds simple, right? Apparently not. I searched through both eBay and Amazon, finding the exact cable I needed was surprisingly difficult. The few options I could find were way too long, which obviously isn't going to work inside a case this small. So I decided to make my own. I bought two mini HDMI connectors for about $5. Now comes the difficult part. I have to wire them together myself. I can't just use ordinary for something like this. HDMI speed, wrong. Using the wrong wiring could introduce interference or completely ruin the video signal. So instead, I'm using these tiny twisted pair wires taken from an Ethernet cable. Now I need to carefully connect each corresponding pin from one mini HDMI connector directly to the other. And trust me, this is a lot harder than it looks. The solder points are absolutely tiny, so every connection has to be extremely precise. One accidental solder bridge, one wire connected to the wrong pin, and this entire cable could be useless. At this scale, there's almost no room for error. After soldering, I managed to solder just one of the mini HDMI connectors, and I still had an entire second connector left to do. At that point, I had to admit, this wasn't going to work. Solder joints weren't holding properly, the wires kept coming loose, and with the basic tools I had, these tiny pins were simply too difficult to solder reliably. I was completely stuck. I had no idea how I was going to make this connection work. But luckily, I found something that pretty much saved the entire project. It's a special mini HDMI to HDMI cable that uses a flat ribbon cable. Instead of soldering dozens of microscopic connections by hand, the cable simply locks into the connectors on both ends. It cost me about $10, but I'd happily pay that just to avoid the soldering.