Loading video…
All breakouts
 CapCutseen in 576 videos →
7.7Talking HeadHow-To hook
Hook
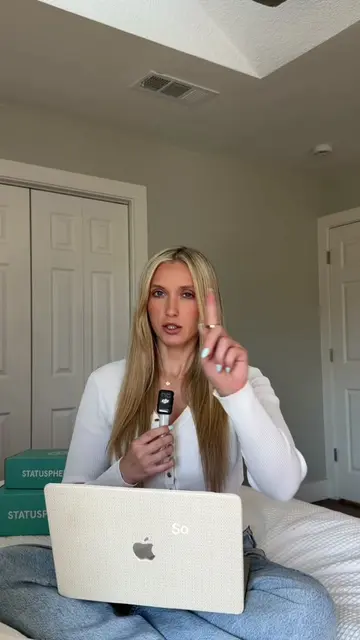
Welcome back to cool $#!+ you can do on CapCut
@statusphere
92.6K followers · usually 4.1K views a post
Views
31.9K
Likes
2.1K
Comments
64
Shares
122
Selling · SaaS › Other SaaS
Why it worked
The video provides a practical, step-by-step tutorial on a specific editing technique (keyframes) within a popular app (CapCut), addressing a common need for creators to enhance their video content with dynamic product placements.
Summary
This video demonstrates how to use keyframes in CapCut to animate product placements within a video. The creator shows how to add keyframes to move, resize, and position product overlays to create dynamic visual effects.
Structure
- 1Introduction to CapCut keyframes
- 2Explaining what a keyframe is
- 3Demonstrating product placement animation
- 4Showing how to move and resize products
- 5Explaining the concept for other edits
- 6Teasing the next part
Product placement
CapCut: ACTS - video editing software. Its interface is operated to edit video. Removing it would change what happens in the video.
Statusphere: APPEARS - The creator's brand name is visible on a box and on a shelf. Removing it would not change what happens in the video.
Original caption
welcome back to cool $#!+ you can do on CapCut🎬 A series where we show editing tutorials for some of the gatekept things you can do on CapCut ✨ In ep 4 we breakdown all things 💎keyframes💎 and different CapCut edits you can do just by learning how to use the keyframes feature👀 #capcuttutorial #editingtutorial #capcutedit #keyframes #editingtips
More from @statusphere
Their other posts in the index, biggest breakout first.