Loading video…
All breakouts
6.3App DemoDirect Question hookAI Tools
Hook
WHAT AM I BUILDING?
@schematikio
0 followers · usually 5.0K views a post
Views
28.2K
Likes
684
Comments
3
Shares
66
Promoted product
Arduino Nano LCD Prototyping Board
Why it worked
The video effectively uses a "build with me" format, showcasing the creation of a functional electronic device from a custom PCB. The clear on-screen text and visual demonstration of the assembly process create intrigue and satisfy viewer curiosity about the final product.
Summary
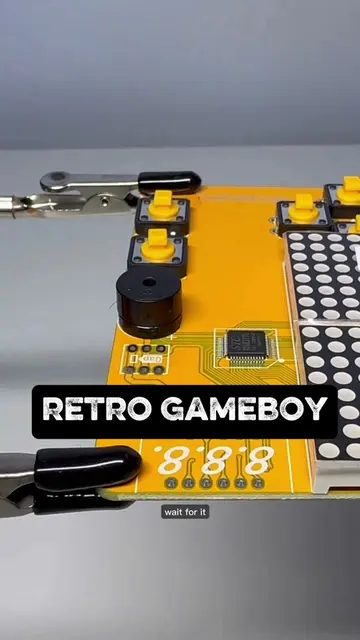
The video shows the assembly of a custom PCB for an Arduino Nano with an LCD screen. Components like capacitors, resistors, and a transistor are soldered onto the board, and then the LCD and Arduino Nano are attached, culminating in a "Hello this is a test run" message displayed on the screen.
Structure
- 1Showing the custom PCB
- 2Soldering components onto the PCB
- 3Attaching the LCD screen
- 4Attaching the Arduino Nano
- 5
Original caption
Custom Prototyping PCB for Arduino Nano #engineering #electronics #DIY #maker
More from @schematikio
More breakout videos from this creator.