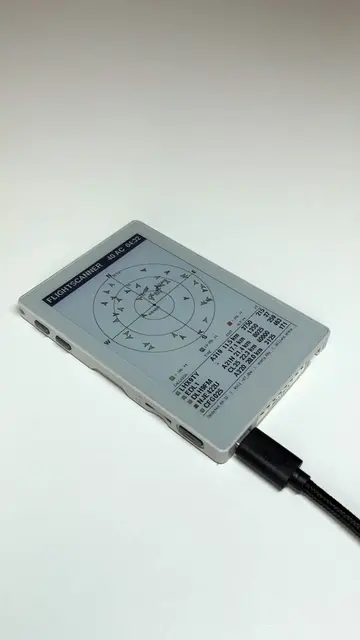
The video effectively showcases a practical and visually engaging DIY project, leveraging the AI capabilities of Schematik.io to simplify hardware development. The clear demonstration of building a functional device from an idea appeals to makers and tech enthusiasts.
Summary
The video demonstrates how to build a live flight radar scanner using the Schematik.io platform and an M5Stack M5Dial board. It shows the process of defining the custom board, generating code and schematics, and deploying the firmware to the device.
Structure
1Introduction to building a live flight scanner
2Using Schematik.io to define the hardware project
3Generating code, schematics, and instructions
Original caption
How to Vibe Build a Live Flight Scanner Project #electronics #engineering #DIY #maker
More from @schematikio
More breakout videos from this creator.
4
Deploying the firmware to the M5Dial board
5Demonstrating the live flight radar functionality
Product placement
Schematik.io: ACTS - it is an AI-powered hardware development environment that turns an idea into code, wiring, and a step-by-step guide. The interface is operated to generate schematics and code. Removing it would change what happens in the video. M5Stack M5Dial: ACTS - it is a hardware board used as the base for the flight scanner project. Removing it would change what happens in the video.
On-screen text
HOW
LIVE
SHOWS
PLANES
AM
DIAL
INTEGRATED
A
CUSTOM
SCHEMATIK.IO
TYPE
A
PROJECT
M5
GENERATES
SCHEMATICS
INSTRUCTIONS
CLICK
UPLOADS
DIRECTLY
FLYING
SEE
GOING
Transcript
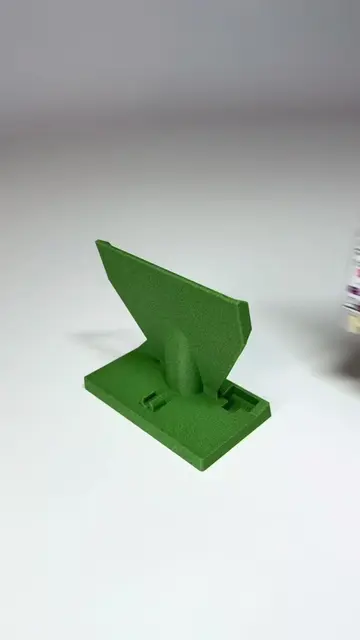
This is how live shows planes am dial integrated a custom schematik.io type a project M5 generates schematics instructions click uploads directly flying see going. I am using this M5 dial board with integrated round display and a 3D printed custom stand for it. Then you go to schematik.io and type in "Build me a live Flight Radar scanner with the M5Stack M5Dial board." The registry doesn't have the M5Dial. I'll define it as a custom board using the researched hard-wired pins. Let me also get the base ESP32-S3 pinout to reference valid GPIOs. Good. Now I have everything I need to specify the M5Dial's hard-wired pins. TIP: (9C9A0B, 8, 9), MOSI/SCL: (CS=1, D0=4, D1=16, BL=9) Touch (FT5306, 26) SCL=4, SDA=7, SCL=12 Encoder: A=40, B=41 Button (BTNA)=42 Buzzer: GPIO3 HOLD/Power: GPIO46 RFID/RTC shared G2: same SDA=7, SCL=12 Now I'll set up the custom board, add components, wire, write firmware, and finalize. Board defined. Now let me add the project components -- no external wiring needed since everything is on-board. Add a WiFi credential placeholder and the OpenSky API config as software-level items. Working... Board: M5Stack Fire Read ESP32-S3-DevKitC-1 (8 MB PSRAM, 36 pins) Set board: M5Stack M5Dial Added a component Added WiFiStack M5Dial Wired 2 connectors Wrote firmware (33.4 KB, 5 bits) Wrote 5 assembly steps Project validated (with notes) Rotate the encoder knob to scroll the list up/down with a live scrollbar Press the under-screen button to cycle through 6 region presets: UK & Ireland, West Europe, East Coast USA, West Coast USA, SE Asia, Eastern Australia -- with a beep confirmation Key design decisions Topic Board API auth Memo M5Dial defined as a custom board -- all 7 on-board peripherals (TFT, touch, encoder, button, buzzer, RTC, RFID) declared with their hard-wired pins OpenSky switched to OAuth2, firmware in March 2026; firmware does the full client-credentials flow -- fetches a Bearer token, auto-refreshes before 30-min expiry ArduinoJson stream-filter used on the HTTP response so only the states array is parsed -- critical for the ~8 Generated project output Code Diagram Pins Components Assembly One-click Deploy. Download mode, then re-click Deploy. The M5Dial v1.1 uses the StampS3A -- the same firmware works on both versions. Step 5: Power on and use After flashing the board will reboot automatically. -- The display shows "FLIGHT RADAR", connects to Wi-Fi, fetches an OAuth2 token, then immediately pulls aircraft data. -- Rotate the knob up/down to scroll through the aircraft list. Each row shows callsign, altitude in feet, and speed in knots. Aircraft on the ground show 'GND'. -- Press the button (under the screen) to cycle through 6 built-in region presets: UK & Ireland, Coast USA, West Coast USA, SE Asia, Eastern Australia. A short beep confirms the change. -- Data refreshes every ~15 seconds automatically. A scrollbar on the right edge appears when there are more aircraft than fit on screen. Connected USB 303A:1001 Disconnect Flashing This board uses a CP2102 / CP2104 USB-to-serial bridge. If it isn't detected when you connect, you might need to install the CP210x driver. (flashing) 25% -- Flashing file 4/4: 96% (flashing) 50% -- Flashing file 4/4: 97% (flashing) 72% -- Flashing file 4/4: 88% Writing at 0x1e5a8b -- Flashing file 4/4: 70% (flashing) 74% -- Flashing file 4/4: 70% Writing at 0xf1543... (76%) (flashing) 76% -- Flashing file 4/4: 72% Writing at 0xf88c0b... (78%) (flashing) 77% -- Flashing file 4/4: 72% Writing at 0xfbf42... (78%) Click Deploy and it uploads the code directly to your board. Now I can always check who is flying over me. I also see where the plane is going.