Loading video…
All breakouts
 CapCutseen in 576 videos →
42.2App DemoOther hook
Hook
Scan effect
@afilmbyicon
12.1K followers · usually 3.4K views a post
Views
141.9K
Likes
10.7K
Comments
71
Shares
2.3K
Selling · SaaS › Other SaaS
Why it worked
The video provides a clear, step-by-step tutorial for a popular video editing effect, making it highly shareable and useful for creators looking to enhance their content.
Summary
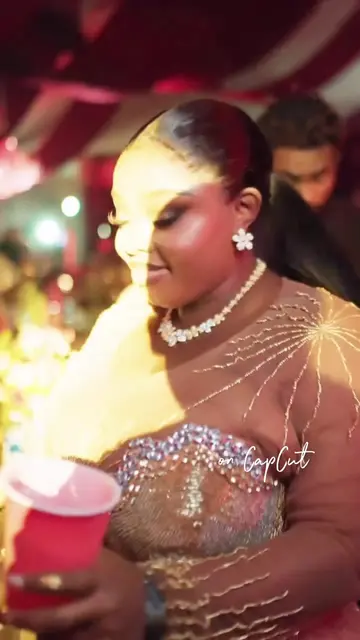
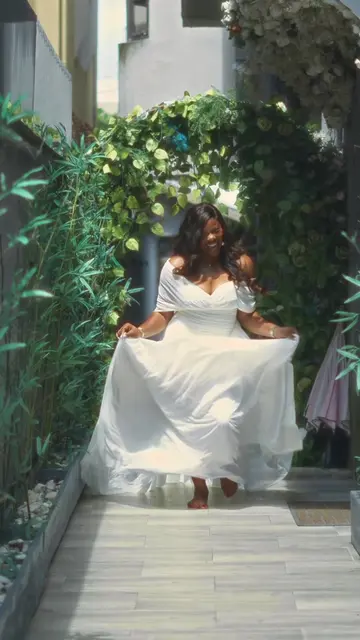
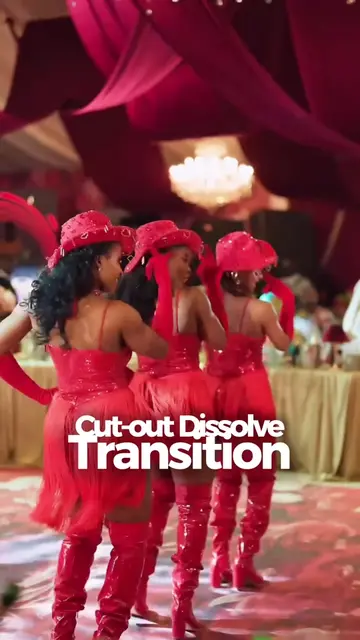
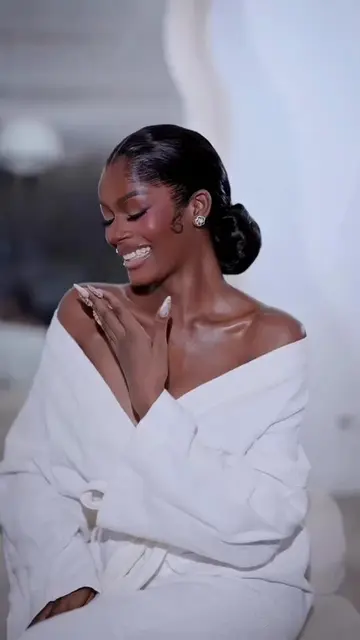
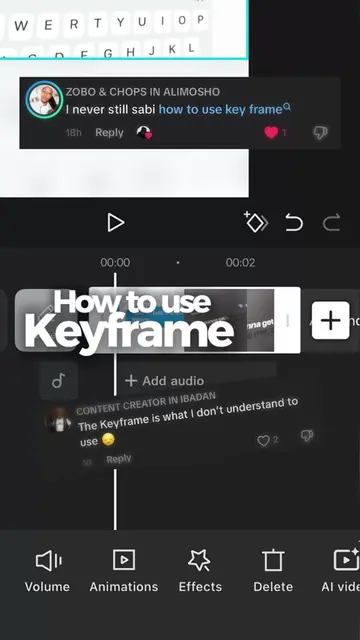
This video demonstrates how to apply the 'Scan Effect' and 'Radial Blur' using the CapCut editing app. It provides a step-by-step guide on adjusting the settings for these effects to enhance video footage.
Structure
- 1Introduce the 'Scan Effect'
- 2Adjust 'Scan Effect' settings
- 3Apply 'Radial Blur' effect
- 4Save and follow for more tutorials
Product placement
CapCut (ACTS - video editing software used to apply effects to the video; removing it would change the video)
Radial Blur (ACTS - a video effect applied to the video; removing it would change the video)
Optical Scan (ACTS - a video effect applied to the video; removing it would change the video)
Call to action
Follow so you don't miss out on next tutorial
On-screen text
Scan effect
Day 1 of 30 - CapCut Series 🛠️
Step-by-Step Tutorial:
1️⃣ Add the Scan Effect:
Go to Effects ➔ Body Effects ➔ Select Optical Scan.
2️⃣ Adjust the Settings:
Size: 10
Range: 40
Twist: 100
Color: Match it to your outfit/dress 🎨
Speed: 100
3️⃣ Add the Blur Finish:
Go back to Video Effects ➔ Search Radial Blur
(Note: You may need a VPN connected to access this feature).
Choose Radial Blur 2
(Keep the default settings).
Hit the checkmark! ✅
📌 Save this post for your next edit!
🔔 Follow so you don't miss out on next tutorial
Original caption
Day 1 of 30 - CapCut Series 🛠️ Step-by-Step Tutorial: 1️⃣ Add the Scan Effect: Go to Effects ➔ Body Effects ➔ Select Optical Scan. 2️⃣ Adjust the Settings: Size: 10 Range: 40 Twist: 100 Color: Match it to your outfit/dress 🎨 Speed: 100 3️⃣ Add the Blur Finish: Go back to Video Effects ➔ Search Radial Blur (Note: You may need a VPN connected to access this feature). Choose Radial Blur 2 (Keep the default settings). Hit the checkmark! ✅ 📌 Save this post for your next edit! 🔔 Follow for more quick video editing tips & tricks! video from: @Captured by Olajumoke #capcuttutorial #videoediting #capcuteffect #contentcreatortips #reelstutorial
More from @afilmbyicon
Their other posts in the index, biggest breakout first.