Loading video…
All breakouts
105Talking HeadCreator Economy
Hook
GET
@beading_bisuteria_diy
2.6K followers · usually 940 views a post
Views
98.1K
Likes
6.1K
Comments
208
Shares
712
Why it worked
The video provides a clear, concise, and beginner-friendly tutorial for a common jewelry-making task, which appeals to a wide audience interested in DIY crafts. The emphasis on simplicity and the lack of specialized tools makes the technique accessible and encourages viewers to try it themselves.
Summary
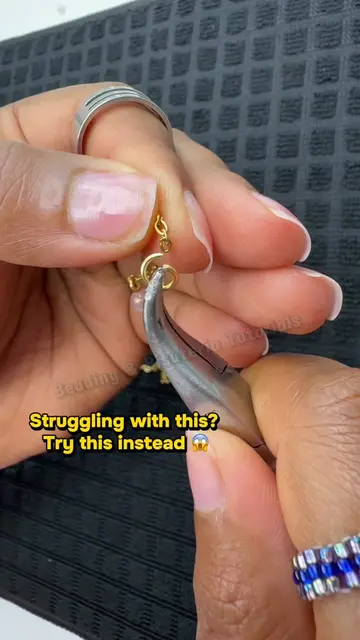
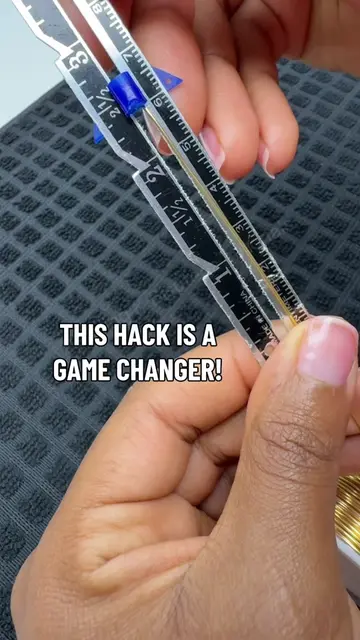
The video demonstrates a simple and beginner-friendly method for starting a bracelet by attaching a clasp to a jump ring and then adding beads. The creator highlights that this technique does not require specialized tools like crimp beads or covers, making it an easy and favorite method for starting bracelets.
Structure
- 1Attaching a clasp to a jump ring
- 2Adding a bead to the beading thread
- 3Putting the bead through the jump ring
- 4Closing the jump ring
- 5Demonstrating the finished start of a bracelet
Call to action
comment below & share! 💜✨
On-screen text
GET
GET A CLASP,
IT INSIDE THE
GET A BEAD AND
PUT IT THROUGH
YOUR BEADING
JUST LIKE
TOO SMALL SO IT
CAN ALL FIT.
NOW PUT THE
THROUGH THE JUMP
JUST LIKE THIS.
NOW IT'S TIME
TO CLOSE THE JUMP
AND HERE YOU HAVE
A VERY, VERY EASY,
BEGINNER FRIENDLY
WAY TO START A BRACELET.
THIS IS A VERY
SIMPLE METHOD THAT
REQUIRE ANY OF THE
OTHER
LIKE THE CRIMP BEADS
OR THE CRIMP
BEAD COVERS.
THIS IS ONE OF
THE MULTIPLE
AND DEFINITELY
AND DEFINITELY ONE OF
MY FAVORITE
WAY TO START A BRACELET.
NOW I'M GONNA GIVE
A DEMONSTRATION ON
IT LOOKS LIKE
AFTER YOU START YOUR
DO YOU SEE HOW EASY
THAT WAS?
COMMENT
FOR MORE.
Original caption
😱 You need to see this other way to start a bracelet. This is why I love Jewelry Making because it’s so full of possibilities & tricks that blow our minds everyday. If you want to see more tips, comment below & share! 💜✨ #handmadejewelry #beadingtutorial #jewelrytutorial #jewelrymaking #beadingtips
More from @beading_bisuteria_diy
More breakout videos from this creator.