Loading video…
All breakouts
37.8App DemoWarning hookCreator Economy
Hook
Stop wasting paper with print then cut.
@coolbrideco
5.3K followers · usually 1.6K views a post
Views
60.6K
Likes
2.7K
Comments
27
Shares
128
Why it worked
The video offers a practical solution to a common pain point for crafters using cutting machines, providing a time-saving technique that directly addresses the inefficiency of traditional "print then cut" methods for personalized stationery.
Summary
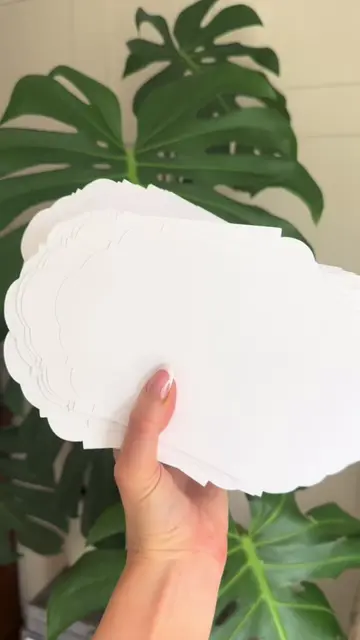
The video demonstrates how to cut printed stationery using a Cricut Maker 4 without the "print then cut" feature, significantly reducing workload for personalized items. It shows the process of aligning artwork and cut shapes in Illustrator before printing and cutting with the machine.
Structure
- 1Showcasing printed stationery sheets
- 2Introducing the problem of "print then cut"
- 3Demonstrating the Cricut Maker 4 cutting without "print then cut"
- 4
Original caption
STOP using Print Then Cut for personalised stationery 👀 This is how I cut printed stationery on my Cricut without using Print Then Cut, and it genuinely cuts my workload in half when I’m making large quantities with different names or wording on every sheet. I create everything in Illustrator on an A4 artboard first, positioning the artwork and the shapes I want to cut exactly where I need them on the page. Once everything is aligned, I save my artwork/text ready to print, then save JUST the shapes I want the Cricut to cut as a separate file. I upload that cut file into Cricut Design Space and make sure it’s resized to the exact dimensions of my A4 sheet. Because I’ve already done all of the positioning in Illustrator, I don’t need to individually set up every personalised sheet inside Design Space. Before I let the Cricut anywhere near my printed card with a blade, I do a test using the PEN function instead. This draws exactly where the Cricut is going to cut, so I can check the alignment and make tiny adjustments until it’s spot on without wasting my printed cardstock. Once I know the positioning is perfect, I add washi tape to the outside of my mat to mark exactly where each A4 sheet needs to sit. Then I swap the pen for the blade and I’m ready to go. Print a personalised sheet → line it up with the washi tape → use the SAME cut file → repeat. No registration marks. No setting up a separate Print Then Cut file for every guest. No uploading endless individual files just because the names or wording have changed. If you make personalised stationery in bulk, SAVE THIS. ✂️ #CricutHacks #PrintThenCut #CricutTips #WeddingStationery #CricutTutorial
More from @coolbrideco
More breakout videos from this creator.