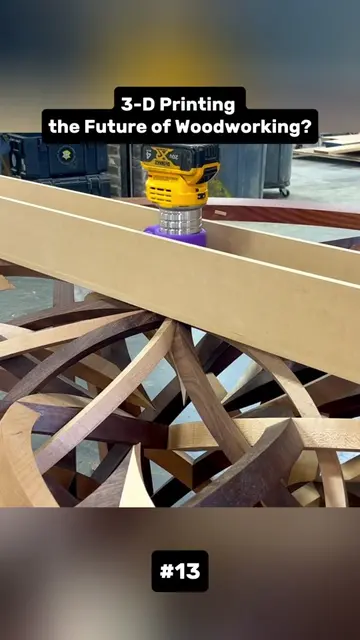
Same thing happens to the other segment except it gets a convex surface where it's going to be landing on a concave one a little later on. Next, the two pointy ones get glued together to make a even pointier one. I think the geometry it forms when the two curved planes meet is really, really cool. Although I'm realizing that this curve can actually be formed by any two of the three planes that are in action here. The two curved ones and the plane that bisects them. Test fitting one of the pieces in the notches we made earlier. And then here is the assembly of all the pieces. I'm marking out the location of the joint from the tangent line. Next I glue them all together trying to keep all the contact points on a nice flat surface while the glue is setting. And then I went ahead and test fit them in the table. The flower is not going to get glued in just yet, but I went ahead and clamped it in temporarily while I assemble the last of these sections. These pieces went in relatively smoothly, although clamping the whole piece down while doing this glue up was definitely the right move. As you can see, them getting grain matched back together really enhances the illusion of the pieces being continuous. Once all the pieces are in, I went ahead and took out the whole flower section to do a bit of cosmetic work. But also the next part, which is the dome, is actually going to have to get glued in in tandem with this, so this just gets set in for right now. In the meantime, I went ahead and cut the brass cylinders on the table saw as it's non-ferrous metal. And I just end up using a smaller diameter blade as it has a lower tip speed for the same RPM. I made a whole jig to get this drill bit to go in perfectly plumb, but it just kept slipping and doing it by hand starting perpendicular turned out to be the best way to do it. Next, the brass gets epoxied in place and it's left a little over a sixteenth tall and can get trimmed down after the epoxy sets. If you remember earlier in the video, I left the key or wedge out of the scarf joint and that was because I couldn't figure out which wood I wanted. I thought maple would stand out more, but walnut would look better and I didn't think of brass until much later on, but I think it ticks both boxes a lot better. All four sides get a small chamfer and then I cut it on the band saw before repeating the process. Usually in a scarf joint the wedge would go all the way through, but as this is more decorative and brass is expensive, I just went ahead and did these little pieces on both sides. This is my brother Andrew who came down to stay with me for the week and volunteers his help. Thank you Andrew. After the epoxies dry, they get cut flush to the face of the table. The hexafoil is one of the oldest shapes found in ancient geometry and I've kind of adapted it into a dome shape that will be supporting the glass in the middle of the table. Milling the initial curve stock is the same process as shown in the rest of the video, but obviously on a much smaller scale. These pieces are only 1 inch by 1 inch.