Loading video…
All breakouts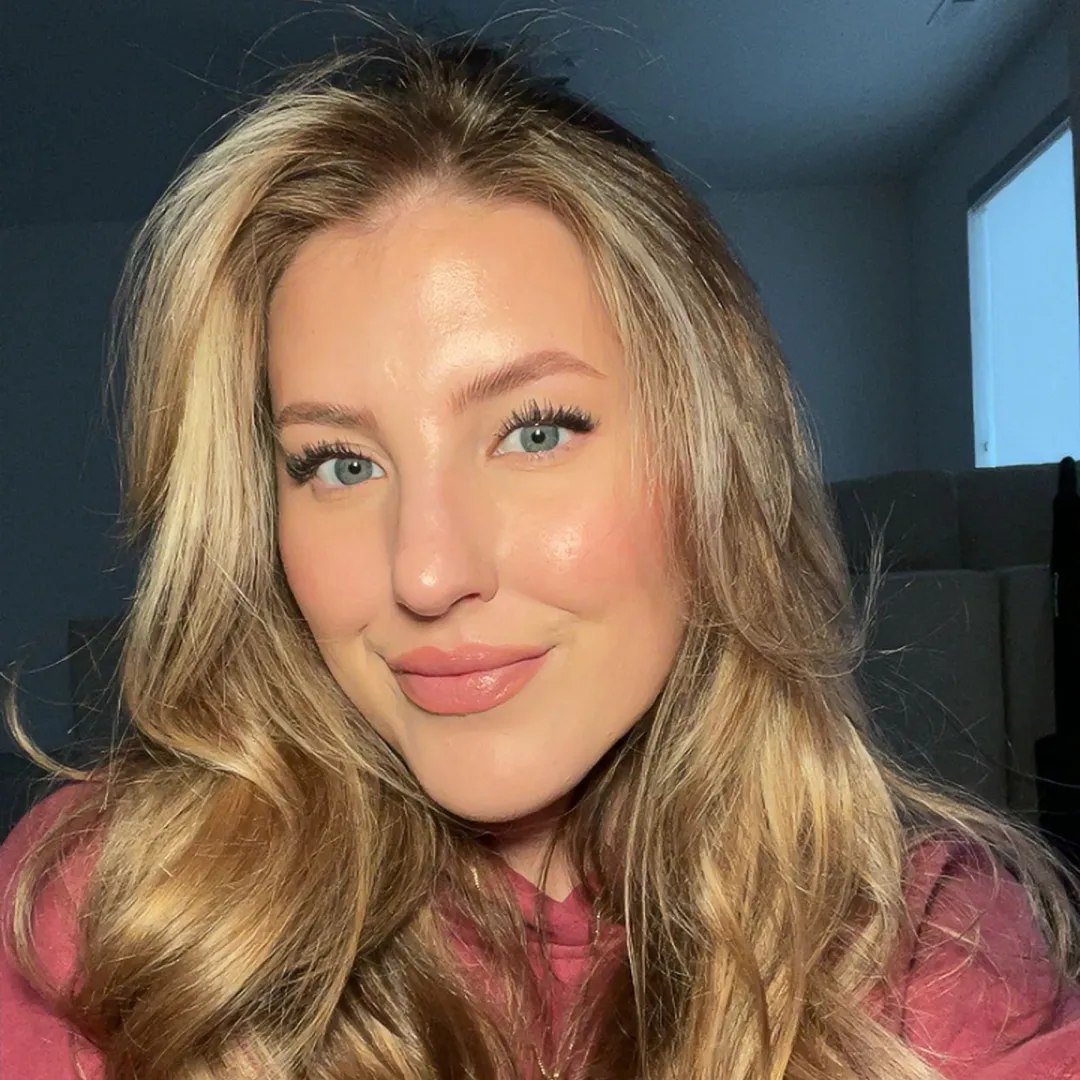
70.3Talking HeadHow-To hookHealth
Hook
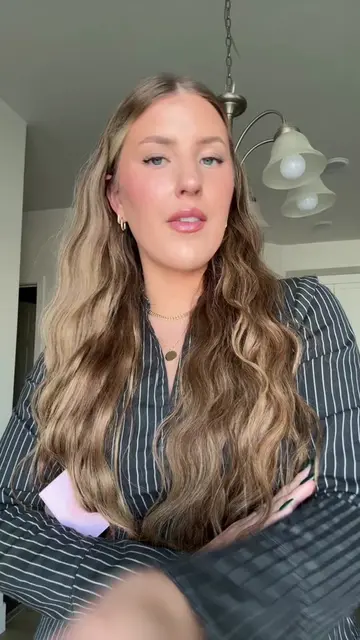
Fall nails tutorial, let's go.
@injectablesbymadi
4.6K followers · usually 657 views a post
Views
46.1K
Likes
1.0K
Comments
9
Shares
2
Why it worked
The video provides high-utility, step-by-step educational content that solves a specific aesthetic problem, while the creator's transparent disclosure about the commission link builds trust with the audience.
Summary
The creator demonstrates a step-by-step fall nail tutorial using a professional nail drill and various gel products. She explains her process for prep, application, and color mixing to achieve a specific seasonal look.
Structure
- 1Introduction and nail drill recommendation
- 2Nail prep and shaping process
- 3Cuticle care and cleaning
- 4
Original caption
Here’s the names of the colors I used: Brown- Beetles gel liner in Hot Chocolate (b514) Red- Venalisa in Deep Cherry (JD40) Other supplies if you’re curious: Hard gel- GAOY poly gel Glass cuticle tool- GERMANIKURE Glass cuticle stick Cuticle scissors- ZIZZON cuticle scissors #nailtutorial #buildergel #hardgel #diynails #naildrill
More from @injectablesbymadi
More breakout videos from this creator.