Loading video…
All breakouts

10.1App DemoStory Open hookCreator Economy
Hook
WHILE EDITING,
@edie.edit
212.2K followers · usually 140.3K views a post
Views
1.4M
Likes
27.9K
Comments
188
Shares
1.4K
Why it worked
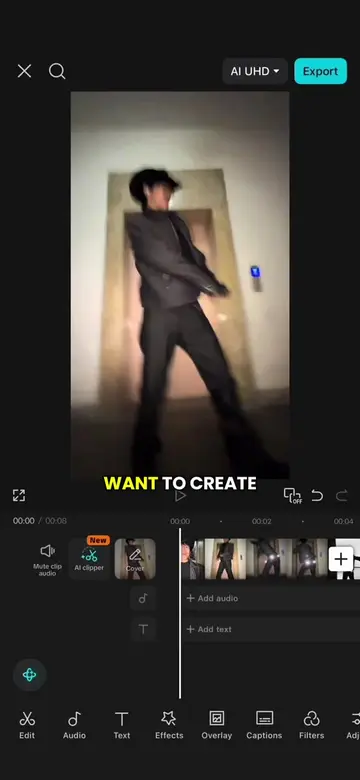
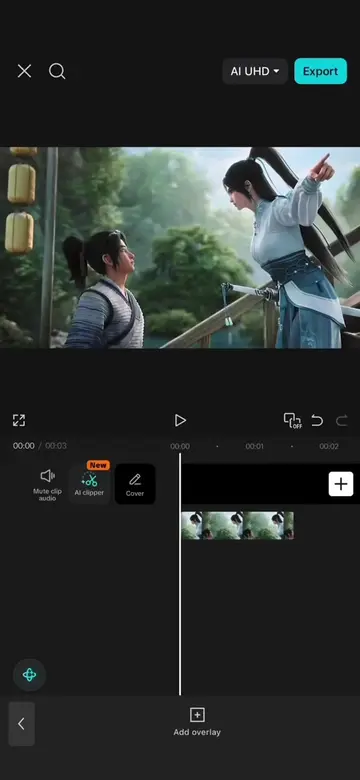
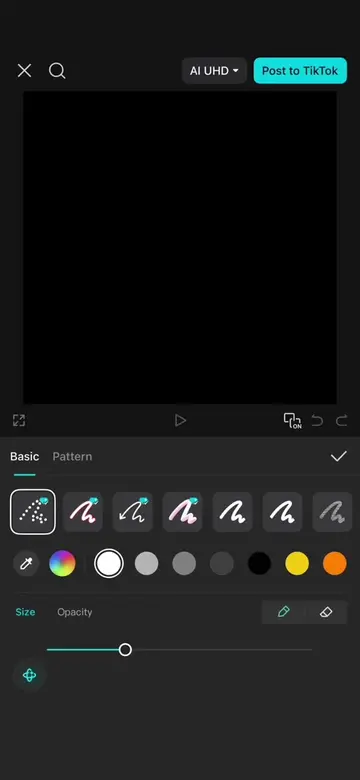
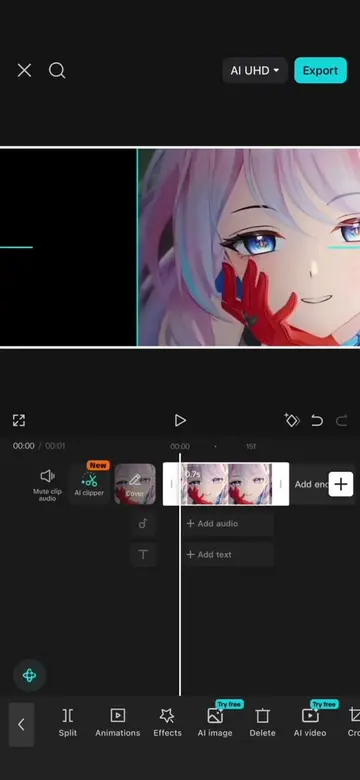
The video effectively uses a popular trend ('Two Different Worlds') and provides a clear, step-by-step tutorial on how to achieve the effect using a widely accessible editing app (CapCut). The use of AI features and visually appealing effects likely contributed to its engagement.
Summary
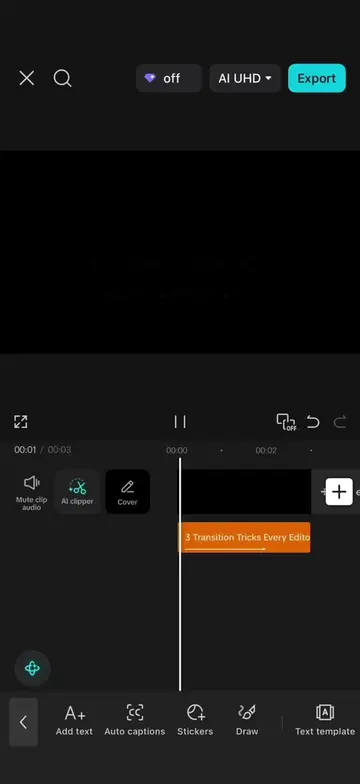
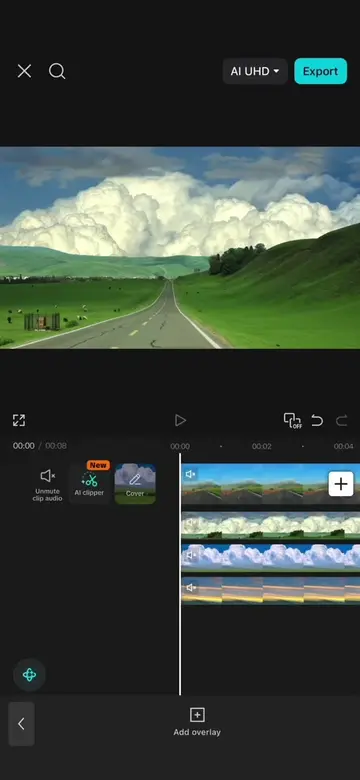
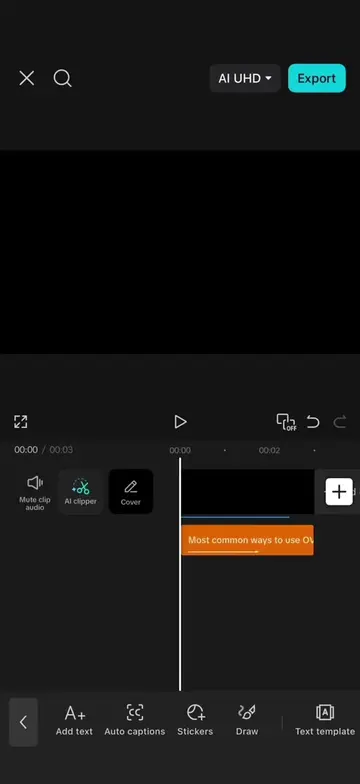
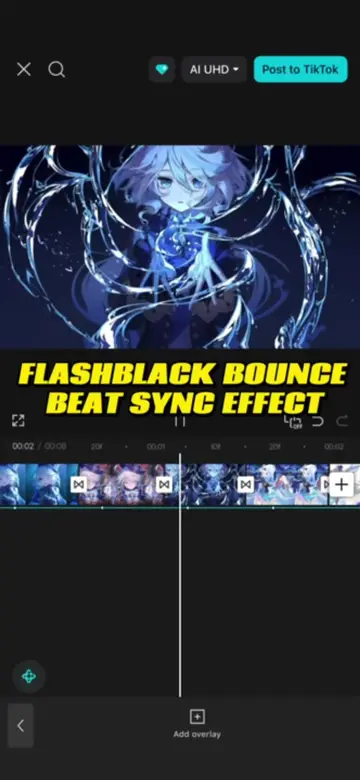
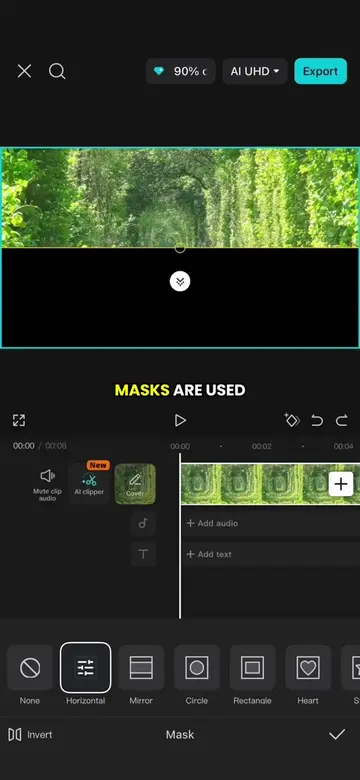
This video demonstrates how to create a "Two Different Worlds" editing effect in CapCut. It involves using AI removal, freeze frames, masks, filters, and chromatic glitch effects to achieve a split-screen aesthetic synchronized with the audio beats.
Structure
- 1Introduce the problem of messy frames when stacking clips.
- 2Demonstrate AI removal to remove subjects.
- 3Use auto beat detection and freeze frames.
- 4Apply filters and masks to create a split-screen effect.
- 5Add chromatic glitch and flash overlays for the final effect.
Product placement
The video demonstrates editing techniques using the CapCut mobile application, specifically highlighting features like AI Remove, Auto Beat, Masking, Filters, and Splice.
Original caption
Episode 95: Two Different World Trend #CapCut #capcutpioneer #videoedit #tiktoktips #tutorial
More from @edie.edit
Their other posts in the index, biggest breakout first.