Loading video…
All breakouts
 CapCutseen in 576 videos →https://mobile.capcutshare.com/sv2/ZSxpp7ANu/ ↗
11.4App DemoHow-To hookEducation
Hook
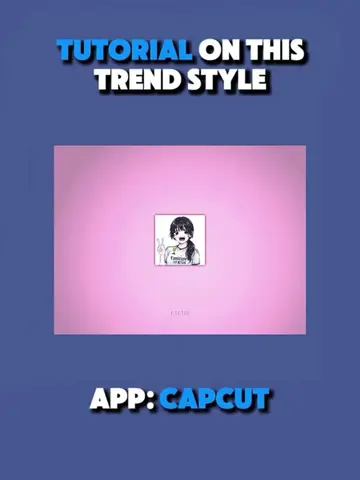
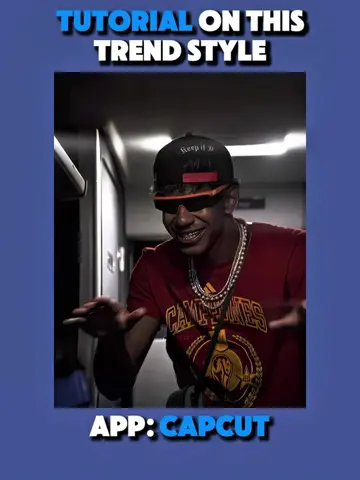
TUTORIAL ON THIS CLONE STYLE
@ketikajazan
1.9M followers · usually 12.8K views a post
Views
138.2K
Likes
6.4K
Comments
162
Shares
646
Selling · SaaS › Other SaaS
Why it worked
The video provides a clear, step-by-step tutorial for a popular video editing trend, making it highly shareable and useful for other creators. The use of on-screen text and visual cues ensures the instructions are easy to follow, even without audio.
Summary
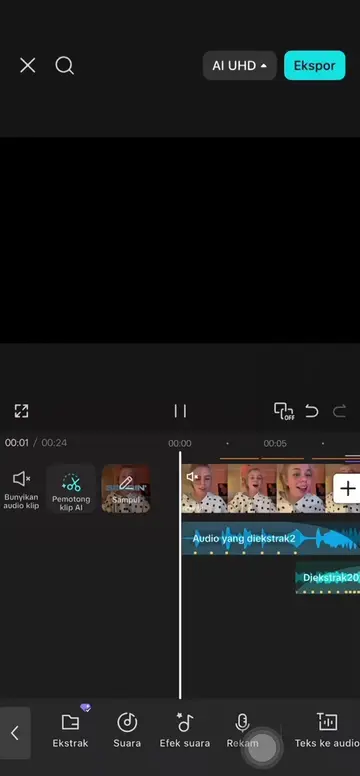
This video provides a tutorial on how to create a "clone style" video effect using the CapCut app. It demonstrates layering, background removal, keyframing, and applying various effects like shake and motion blur to achieve the desired visual.
Structure
- 1Introduction to the clone style tutorial
- 2Creating a musical beat and setting duration
- 3Copying and overlaying clips, removing background
- 4Adjusting keyframes and positioning overlays
- 5Applying shake effect and motion blur
- 6
Original caption
Tutorial on this viral dexter multiplying "Bare Minimum" @︎ || what other trends would you like a tutorial on? #CapCut #capcutpioneer #capcutphoto #seedream5pro #edittutorial
More from @ketikajazan
Their other posts in the index, biggest breakout first.