Hook

Their other posts in the index, biggest breakout first.
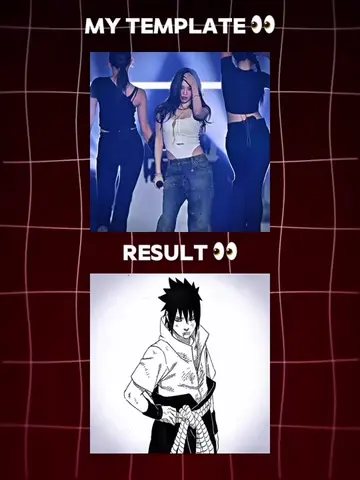
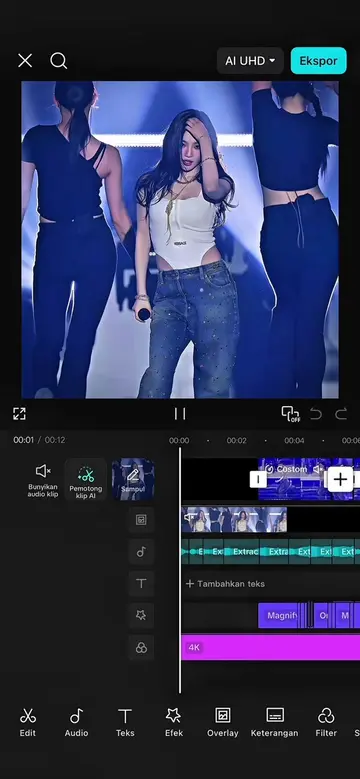
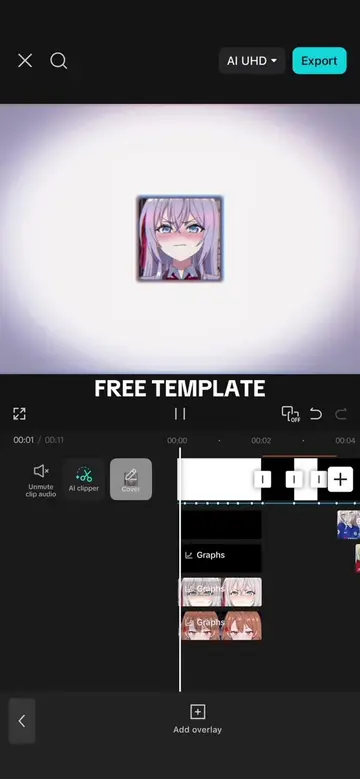
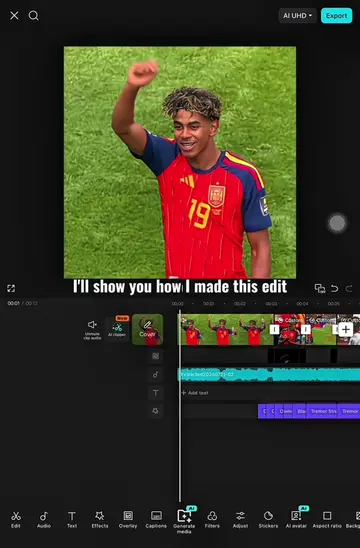
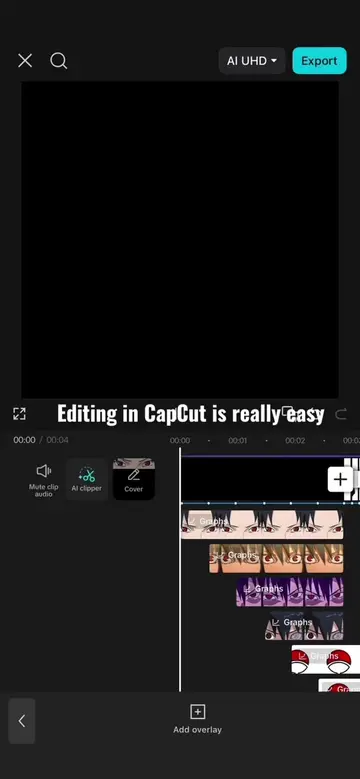
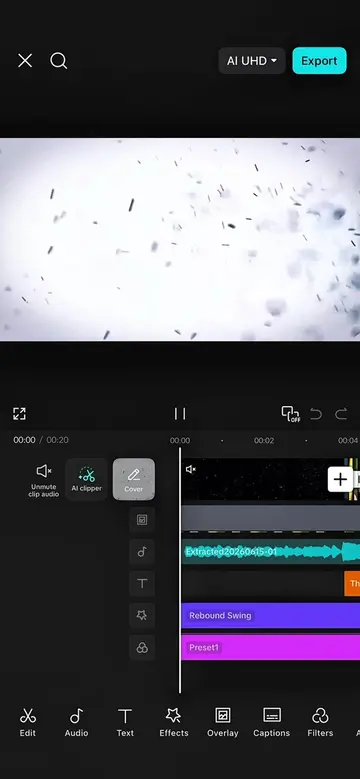
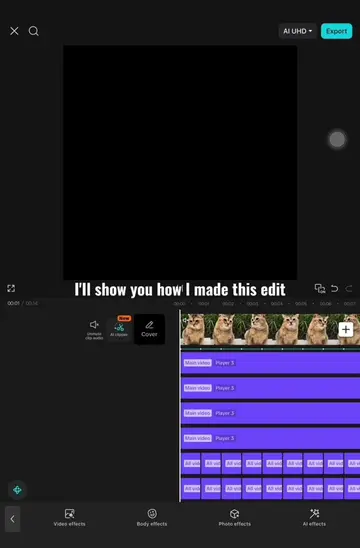
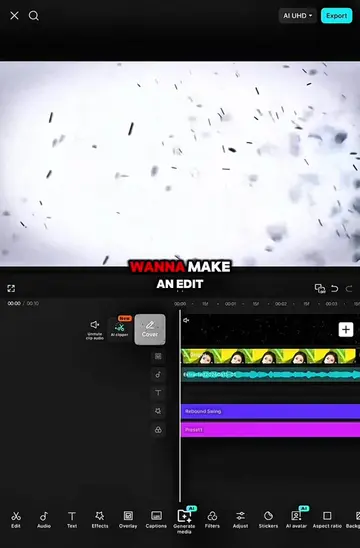
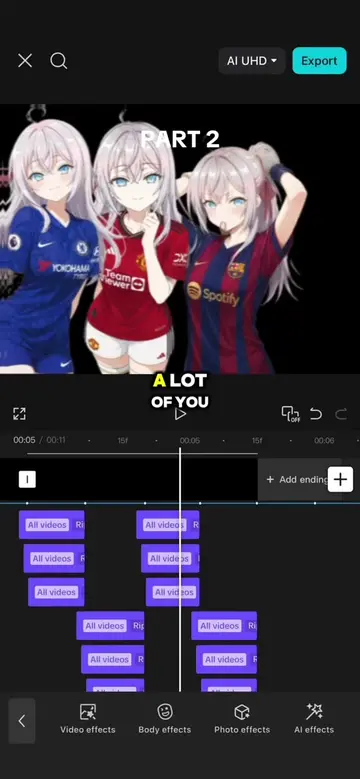
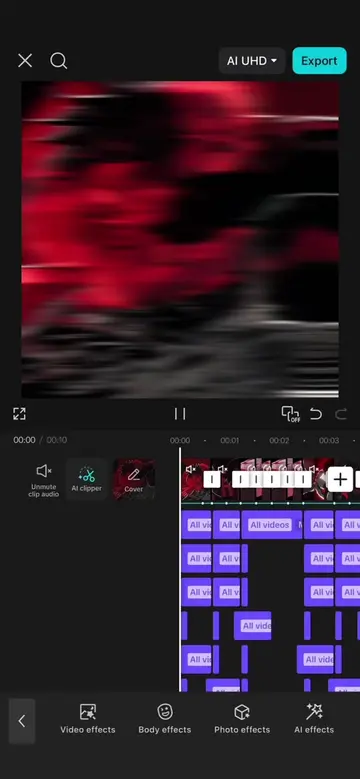
I'll show you how I made this edit. Bat bat bat bat. Oh, it's all right. All right. First, prepare your clips and sync them with the beats using my speed grab. Click on the first clip, then go to transform, advance zoom and set the zoom to 120%. Add a key frame at the beginning of the clip. Then add another one right next to it. Add more key frames at every half beat and at the end of the clip like this. Go back to the first key frame and reset the zoom. Then click on the third key frame and reset the zoom again. Do the same for the fifth key frame. After that, go back to the beginning of the clip and add the quad out graph. Add the quad e-s graph to the next key frame and for the last key frame add the cubic in graph. Repeat the same process for the next clips. Now, go back to the first clip and add the bouncing glow effect. Set the object to all, then set speed to 18, intensity to 20, blur to zero and glow to 40. Extend the effect until the end of the clip, then duplicate it and move it to the next clip. Next, add the light hearts effect. Set glow, soft light and rotate to zero. Speed to 20, filter to zero, intensity to 40 and set size and to zero. Extend the effect until the end of the clip, then duplicate it and move it to the next clip. After that, add the omniflexion effect and set the object to all, shorten the effect like this. Add a key frame at the beginning and set the range to 100. Add another key frame at the end. Then click on the first key frame and set horizontal to 40. Next add the quad outgrab. Duplicate this effect and move it to the end of the first clip. Reset the effect and adjust its length so it matches this B. Add a key frame at the beginning and set the range to 100. Then add key frames in the middle and at the end. click on the middle key frame and set horizontal to 60. Then click on the last key frame and set horizontal to 30. After that add the ease and cubic in grab. Now go back to the beginning of the clip and add the oblique blur effect. Shorten it to match the effect above and set the object to all. Add a key frame at the beginning and set blur and rotate to 100. Then add another key frame at the end and set blur to zero. Add the ease out graph then duplicate the effect three times. Finally add the slide left transition and set the duration to one second. And now let's see the result.