Loading video…
All breakouts
 CapCutseen in 576 videos →
146App DemoHow-To hook
Hook
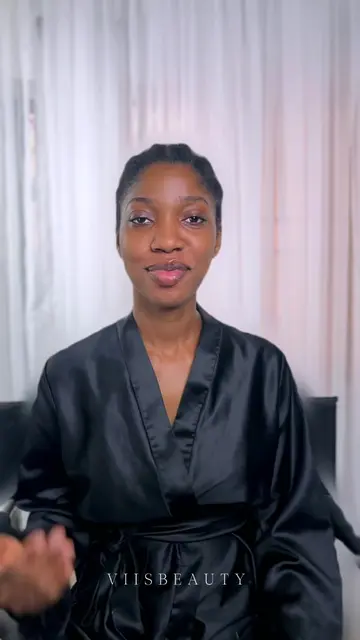
How to Edit Your Makeup Videos Like a Pro
@viisbeauty
22.4K followers · usually 472 views a post
Views
64.9K
Likes
4.6K
Comments
89
Shares
974
Selling · SaaS › Other SaaS
Why it worked
The video provides a practical, step-by-step tutorial on a popular topic (editing makeup videos) using a widely accessible tool (CapCut). The creator's clear instructions and demonstration of tangible results likely resonated with aspiring makeup artists looking to improve their content.
Summary
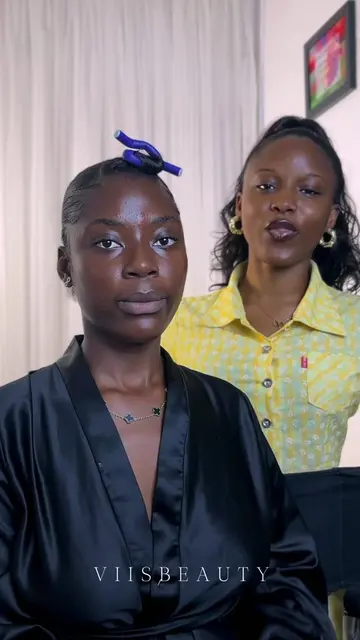
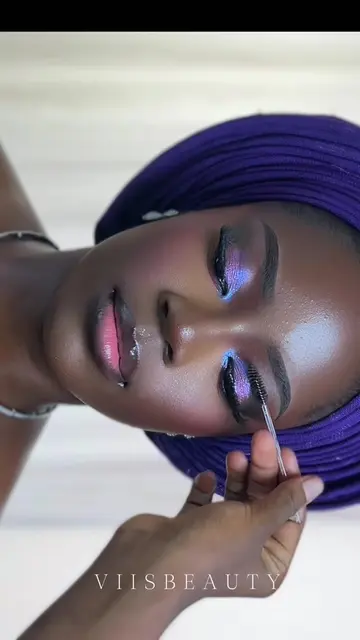
This video demonstrates how to edit makeup videos using the CapCut app to achieve a polished look for platforms like Instagram and TikTok. The tutorial covers adjusting lighting, color grading, retouching, adding blur effects, and exporting in high quality.
Structure
- 1Introduction and recap of previous episode
- 2Demonstration of editing process in CapCut
- 3Adjusting video parameters (sharpening, highlights, shadows, etc.)
- 4Retouching face features (even skin, plump, bright eyes, white teeth, smooth)
- 5Applying blur effects to the background
- 6Exporting the final video in 4K
Product placement
Original caption
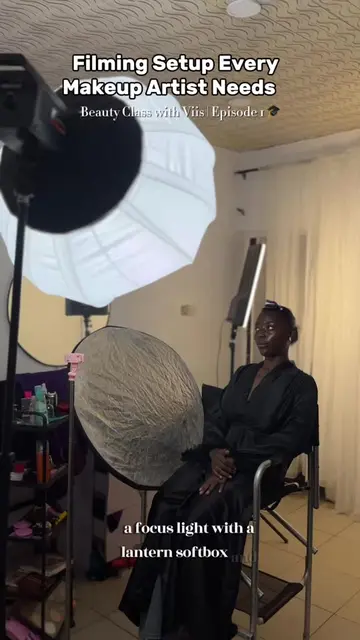
You asked... and I delivered! Beauty Class with VIIS Episode 2 is finally here! In this class, I'm showing you exactly how I edit my makeup videos, from color grading and retouching to blurring your background and exporting in high quality. If you haven't watched Episode 1 yet, go watch it first because good editing starts with good filming. What should we learn in Episode 3? Drop your biggest struggle as a makeup artist in the comments, I might cover yours next! #BeautyClassWithVIlS #MakeupArtistTips #CapCutTutorial #MakeupContentCreator #makeupartistininbadan ° Looking for a makeup artist in Ibadan? Welcome to VIIS BEAUTY. I specialize in bridal makeup, traditional bridal glam, soft glam, birthday glam, event makeup, photoshoot makeup, and professional makeup training in Ibadan, Nigeria. Whether you're looking to book a bridal makeup artist in Ibadan or searching for where to learn makeup in Ibadan, VIIS BEAUTY is dedicated to creating flawless, long-lasting makeup tailored to your special day. + Services • Bridal Makeup • Traditional Bridal Glam • Soft Glam Makeup • Birthday & Event Makeup • Photoshoot Makeup • Professional Makeup Training • One-on-One Personal Makeup Classes P Based around the University of Ibadan (Ul), Ibadan. Book your appointment or enroll for makeup training through the WhatsApp link in my bio. Follow @ _viisbeauty for bridal transformations, makeup tutorials, beauty tips, behind-the-scenes content, and stunning client transformations. VIIS BEAUTY
More from @viisbeauty
Their other posts in the index, biggest breakout first.