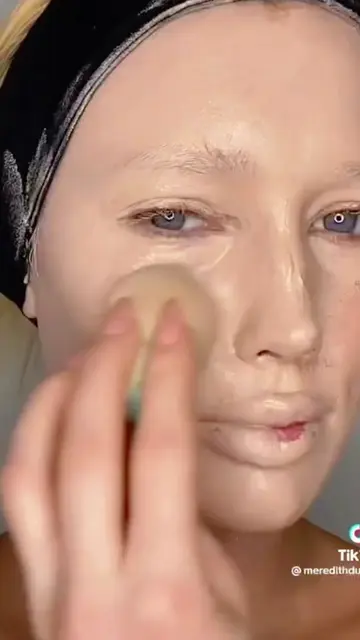
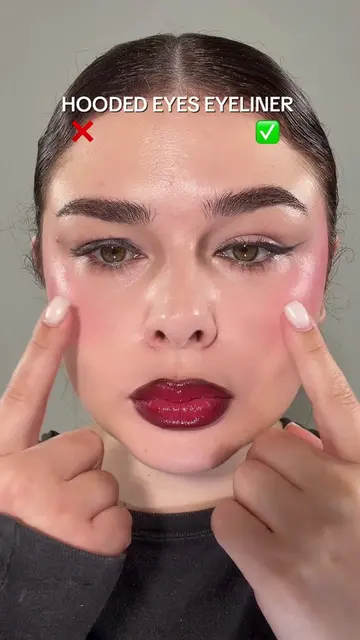
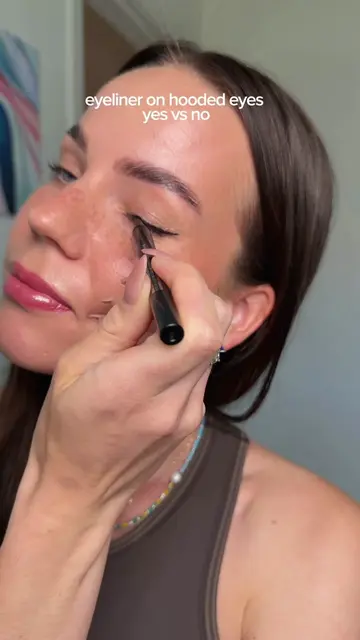
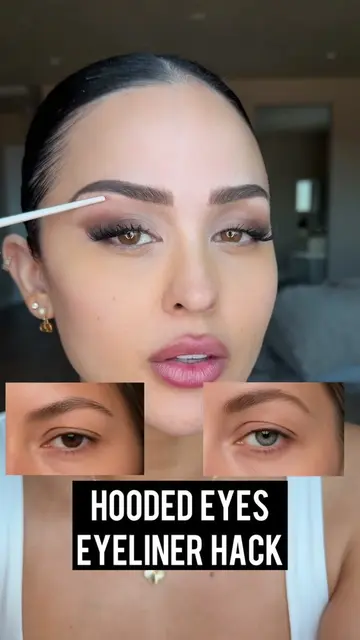
If you're lining hooded eyes all the way across like this, it's gonna end up looking like this. A bit awkward, making the eyes look smaller and even more hooded. Eye makeup on hooded eyes can be super frustrating, so don't make the same mistakes that I did. Let me teach you the dos and don'ts of hooded eye makeup. And I know my eyes aren't fully hooded, but this is also what I would do on others. First, when you go in to do your eye makeup, please don't pull your eye or look super far down in a mirror. Definitely tempting as it makes makeup easier in the moment, but as soon as you let go it's gonna look totally different. So do try your best to look straight ahead of the mirror, or at least check there a lot. Don't only apply your dark shadow to the lid, as not only isn't gonna show well, but it's also gonna make the eye look smaller. Instead, do apply those darker shades on the lid, but take it up past the crease. This is also where I like to use a transition shade. By focusing the darker colours on the outer half of the eye and taking it up into the crease, it's not only gonna elongate them, but it'll make the eye look bigger and it'll be visible when you look straight ahead. And don't skip highlighting the inner corner. This is truly one of the easiest ways to open an enlarged hooded eyes. You can do it with matte or shimmer. And don't apply thick liner across the entire eye cause as you can see, it's gonna instantly eliminate any visible lid space. And please don't pull the eye and try to wing it like an influencer. Wings can be incredibly frustrating on hooded eyes. I find the best way to do it is either a bat wing technique or using a paper card. I lost my business card so I'm just gonna use the back of the skin. And now with this all you gotta do is line it up from under your outer corner, extending up right where you want the wing to sit, and then simply blend on some dark shadow along the edge. As simple as that, you got a wing! Then I always recommend you connect the outer corner to the under eye. And of course you can leave it soft with shadow or go on top of some liner for a stronger effect. And if you do, just be sure to keep that liner only on the outer half of the eye. The same idea applies to false lashes if you choose to wear any. I wouldn't recommend going for a full length strip lash, but instead a two thirds or half lash, as it will give you the same elongating and lifting effect without cutting off or limiting your lid space. Finally, don't be afraid to play up the under eye. Cause our under eyes aren't hooded. It's the most visible part of the eye, so don't be afraid to add a little shimmer or darker shading to really make them pop. It looks great and everyone can actually see it. And there you have it. Some dos and don'ts for hooded eyes. Of course I recognise all eye shapes are gonna be a little different. These are simply the placements and techniques that I found the most success on hooded eyes with. So hope this video helps. As always, let me know any questions you have below and what you'd like to learn about next. Hey everyone! Today I'm gonna teach you three ways to make your eyes look bigger using just white eyeliner. For the liner today I'm gonna use the Maybelline Tattoo Studio Eyeliner in the shade polished white. It's very easy to work with, it's long wearing and does all the right things. So first, just take the pencil and create a nice thin line over the inner half of the eye. This will really make your eyelids pop and appear larger! And then I'm just gonna blend that outer edge. And as you can see, that line will immediately make your eyelids look a lot bigger and brighter. Next, apply it in the lower waterline! Just gonna take the pencil and run this back and forth and you can see that really easily builds up a nice bright color. This will make the whites of your eyes look bigger & more awake! Then just throw on your favorite mascara. I use the Maybelline Sky High. But there you have it. Three easy ways to make your eyes look a lot bigger using just white eyeliner. If you're rushing to apply vinyl lipstick and pressing your lips together like this, it's gonna end up looking like this. Sticky, uncomfortable, and certainly not with the glossy finish you see online. Don't make the same mistakes that I did. Let me teach you the dos and don'ts of vinyl lipsticks. Here's how to get the most out of them. First, don't prep your lip. Hydrate beforehand, of course, but make sure you wipe away any excess balm before you go on top with the vinyl, as any leftover can easily interfere with the formula and may cause it to transfer. So do ensure the lips are clean and dry and then line them if you like. That really is optional as vinyl lipstick is quite durable on its own. And don't forget to shake! It's so imperative. In fact, the packaging even has a little ball to help make sure you shake it. So do shake well before every application. And don't rush to apply. I'll probably voice over this part, but it's imperative that you don't rush the process. I like to fully apply one lip at a time to ensure it's seamless before it starts to set down and dip back in for the top lip, repeating the process but ensuring I don't press them together. That's because that glossy film has to evenly form on the top of the lip to give that magical transfer-proof result. Of course you can use a fan to speed up the process. And just like that, you got a beautiful glossy lip that won't move or transfer anywhere. And for anyone wondering, I use the Urban Decay Lip Bond in the shade Unbreakable. It's actually quite a neutral red. I know the camera always picks it up a little bit orange. It's quite a new lipstick formula and obviously has a bit of a learning curve. Once you get the hang of it, the benefits are pretty cool. If you're applying your foundation like this, it's gonna end up looking like this streaky, uneven and just wasting a lot of product. Don't make the same mistakes I did. Let me teach you the best way to apply your foundation with a sponge. Alright, first of all, make sure you dampen your sponge. You don't want it dripping wet, you just want it damp. See a lot of people taking a dry sponge and dipping it straight into their foundation and then swiping it over the face. And this isn't necessarily bad, but this is what's gonna lead you to a lot of product waste. So instead I want you to try taking your foundation and sweeping it over the face first with your fingers or you can use a flat brush, as this not only warms up the product, but it's gonna ensure we have an even amount applied over the skin before we start to blend and it's gonna reduce that product waste. Now with the sponge, you can just go in and begin to dab and press it into the skin. Super easy and we're retaining that nice coverage. And please the most important thing is make sure you dab up and down and press. When you swipe or drag it literally erases the product and that's how people end up with a streaky or uneven base. But when you dab and press, you can build up the coverage to a level that you like while maintaining a healthy and skin-like finish. And of course same dabbing and pressing applies to your concealer and other cream and liquid products. And finally don't flip to the clean side to blend in your liquid blush or other cream products. As again I consider this side to be an eraser, like it just picked up all this blush and it even took off some of my foundation underneath. So trust me, stick with the same side that has the foundation already on it. This way it won't disrupt your foundation and it's actually gonna mix into the blush rather than taking it away, giving you a more personal shade and a more easy custom blend. One more thing, almost forgot, but please don't apply your loose setting powder with the sponge, at least in my experience. The sponge just applies the powder very oddly and the moisture from it really makes the powder ball up. I wanna say Kylie Jenner made that popular back in like 2018, but trust me, a well coated powder puff is gonna be your best bet. Super smooth and blurred every single time. Some dos and don'ts of the beauty sponge to get a flawless and even base. Hope this video helps. As always, I'll list the product details below, as along with some of my favorite sponges. And remember all of my makeup favorites are listed at the link in my bio. As always, leave any questions you have and let me know what topics you'd like to dive into next.