On-screen text
Creator 5
This model took fifteen hours to print
15 HOURS
4 HOURS
This one took about four hours
Same model
same printer
same filament
The difference is in the slicer settings
Here are seven ways to speed up your prints without blindly sacrificing quality
1. Max Volumetric Speed
First, check your filament's max volumetric speed
This tells you how fast the filament can melt and flow through the hotend before extrusion starts to fail
Push it too far, and you may start seeing under-extrusion, gaps, or rough surfaces
Run a max flow rate test in your slicer
Set the range from 8 to 35
or even 40 cubic millimeters per second
Print the test model
then find the point where the print starts to fail
80mm
That gives you a safer speed limit for that specific spool of filament
If you get a decimal result, round it down
And use that as the filament's max volumetric speed
2. Nozzle Size
Second, choose the right nozzle size
A 0.25 millimeter nozzle is great for tiny details, but it is slow
A 0.4 millimeter nozzle is the usual middle ground
If you want to print faster and you can give up a little fine detail
try a 0.6 or 0.8 millimeter nozzle
Just remember that swapping the nozzle is only part of the setup
You should also adjust the
number of walls, top layers, and bottom layers
For example, two wall lines with a 0.4 millimeter nozzle
Can give you roughly the same wall thickness as one line with a 0.8 millimeter nozzle
That cuts the number of wall passes in half
3. Infill
Third, don't guess your infill
Lowering the infill can save time
but it can also make the part weaker
Grid: Balanced
For general-purpose parts, Grid is a decent balance
Gyroid: Stronger
Slightly Slower
Gyroid usually gives you better strength
although it may take a little longer to print
For decorative models, Lightning infill is often faster because it
only adds internal support where the model actually needs it
And if you need more strength
without filling the entire model with plastic
Try using three or four walls instead
of simply increasing the infill percentage
Before 15h
After 9h
4. Print by Object
Fourth, for multicolor prints, try printing by object
Traditional multicolor printing changes colors layer by layer
That means more purging, more wasted filament, and longer print times
If your model can be split into separate parts
place all the parts on the same build plate
And change the print sequence to Print by Object
This can dramatically reduce the number of color changes
Instead of purging dozens of times
you may only need one or two color swaps
Newer multi-toolhead printers
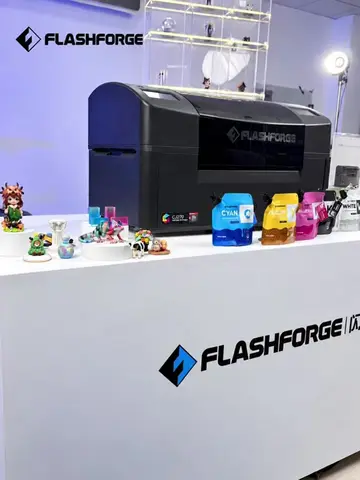
like the Flashforge Creator 5, handle this differently
Each toolhead can carry its own filament
so switching colors or filament
Does not require the same repeated purging
as a traditional single-nozzle setup
But if you are using a traditional multicolor system
printing by object is a simple way to save both filament and time
5. Layer Height
Fifth, use the right layer height
A thin layer height, like 0.08 millimeters
gives you better detail
But it also creates a lot more layers
so the print takes much longer
This works best for simple models
or parts with mostly straight surfaces
For curved models or miniatures
don't push the layer height too far
Otherwise, the layer lines become much more noticeable
0.32mm
0.08mm
0.28mm
6. Variable Layer Height
Sixth, use variable layer height
This is one of my favorite settings when I want a decent balance
between speed and surface quality
The slicer uses thinner layers around curves and detailed areas
then switches to thicker layers on simpler sections
So you don't have to print the entire model using a slow
high-detail layer height
The printer only spends extra time
in the areas where it actually improves the surface
It is especially useful for domes,
curved shapes, and display models
7. Line Width
Seventh, adjust your line width
Layer height affects the Z axis
so it changes how visible the layer lines are
Line width affects the XY plane
and small adjustments are usually harder to notice
With a 0.4 millimeter nozzle
try a line width somewhere around 0.45 to 0.5 millimeters
A wider line covers more area with fewer toolpaths
On a lot of models, that can reduce print time
without making much of a visible difference
So, simply increasing the speed setting is rarely the best approach
Start by finding the real flow limit of your filament
Then choose the nozzle, infill, layer height
line width, and multicolor printing method that fit the model
Change one setting at a time
compare the print time and finished result
And keep the combination that gives you the best balance
FLASHFORGE