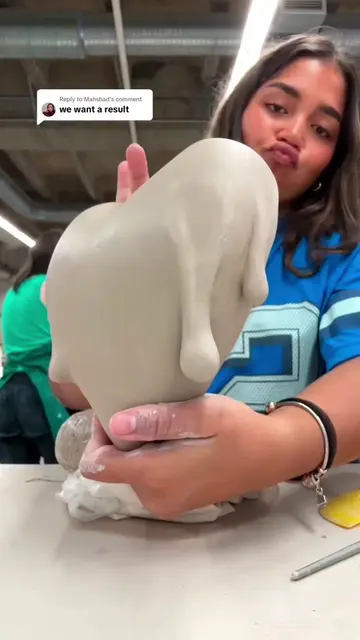
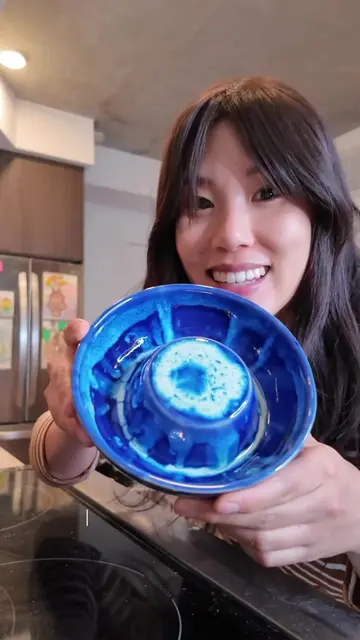
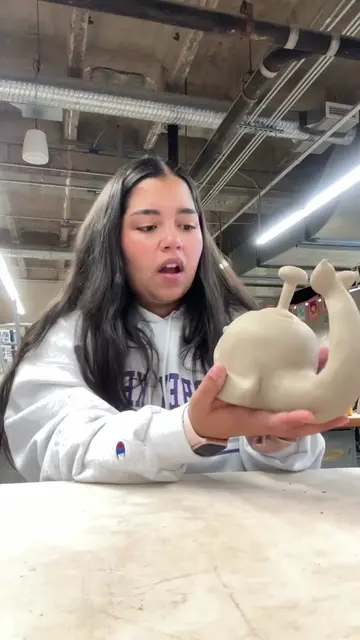
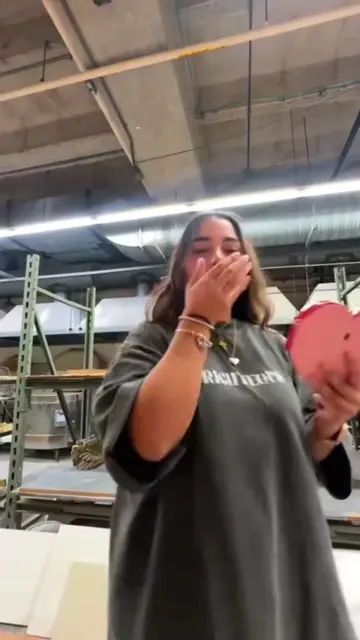
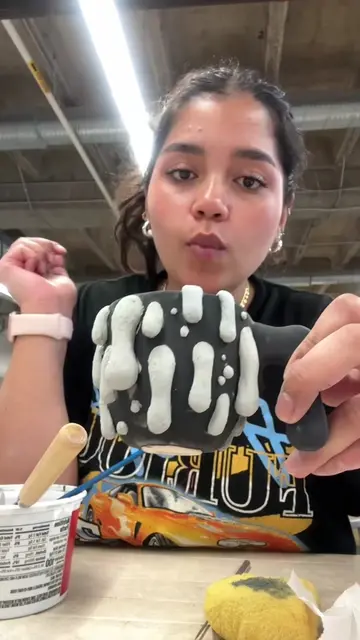
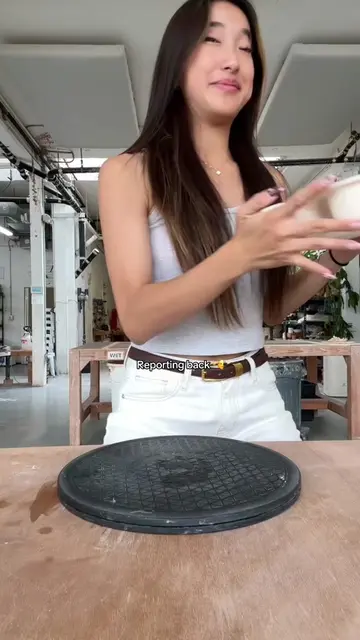
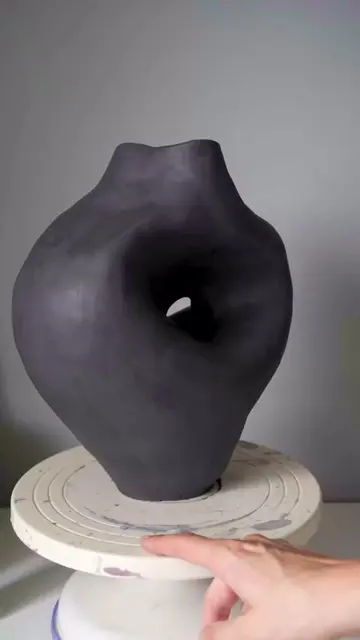
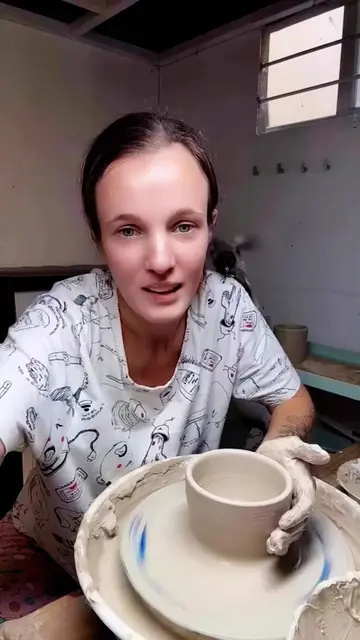
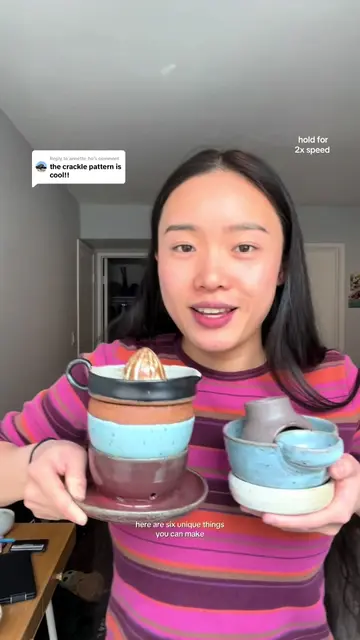
This is my first day of ceramic class and this is what I did. I'll just start by saying I had to carry this whole thing of clay from the car to my classroom and it was super heavy, honestly it was a nightmare but whatever. So the teacher started by doing a demo of 3 different ways we can do mugs. So here's me doing the first one is called the pinching method. This was honestly super hard because I don't have super long nails but they're long enough to stop the clay the whole time. So it was super difficult. This is what I started with. I started creating a bigger walls, making it taller, making it thicker, bigger, cuter. It was looking like a dog bowl and it was hard, harder than I expected. So completely destroyed, start again. That's how you learn. I had to start from stereo, started by creating the little cube, making a little hole in it, start like pushing the walls out, making it a little taller, like the right shape. And it did work out much better than the first time. So that's great. Now the problem was the height. It had to be 4 inches tall. It was about 3. So I was trying to push it in, pushing like upwards, trying to get it taller. And then at the end I finally got it. But then I'm missing the handle and everything else. So I had to clean up because the class was over. This was my working station. And then I had to take a big block of clay home because I have to finish everything at home. I have to do the other two months and finish that one. So here I'm just packing everything up and ready to go home. Ceramic class, Day 2. This is the two of ceramic class and now we're starting on a new project. The teacher let us choose two different vases from before 1900 that we liked and we have to recreate it exactly the same. So I'm just starting right here with the base. It has to be a circle. I don't know what I did at the beginning, but it was too big for mine. So I had to measure it and create the perfect circle and the bottom. So it's super thick because we're carving and then we have to have a lot to work with. This is the base that I'm doing and now I started working on the base. We're doing the coiling method which is called coils. I like them pretty long because I like to work pretty fast. So I started by leveling the vase by cutting like the edge on like the same level. And then I started like building like the wall little bit, making sure it was in the right shape. I smooth in the inside and then I started smoothing out the outside. I really like this part because you can see like the whole thing coming together, but the pain in my finger is insane. Then I started scraping the outside and trying to making smooth. Uh, but then I measured it and like it looked good, but it was way too wide. So I had to do something that's called darting, I think. And you basically cut off like four pieces of the vase and then you like glue it together again, kind of like that how you see, I don't know how to explain it. And that just makes it like smaller, wide wise. And then I had to move out like, and it's like sad because I work so hard trying to get it big, but whatever. Then I just kept smoothing the outside. Um, that you can see before and after, this is so satisfying always. And here I want to show you the tool I used. There's one with teeth and one that's smooth. And I use the teeth first and the smooth one after. I started measuring it and it didn't fit. So I had to keep pushing outwards again and keep measuring until I got to a point I wanted it. And then I started smoothing out the edges. And that's all I did for today. I had to start packing this part. It's always super scary 'cause it could fall. Then I make sure to cover it so that no air could go in and I had to leave it at my spot until next class. Ceramics progress. So it's been like a week now and this has been drying over a couple days since I finished. But I wanted to show you how it ended up looking. It's not painted, it's just plain. But this is the final shape and I'm gonna do like little hearts on it, paint it white. This is like the handle and well, I did like the bottom. It's like a cute little design with my initials. And then the inside I wanted to make like a little heart, like 3D heart. I don't know if you can really see it, but yeah, this is the mug. It's pretty dry now. I'm I want to be really careful with it because it's super delicate. But I'm so happy and I'm so excited and I have to do two more and hopefully I'll finish that today because it's due tomorrow. So here all three mugs. This is the first one that I already showed, the heart-ish one. Um, then the second one I did last night. That's why it's super dark and it's kind of cool. But it I had to, you know, finish fast. So that's all I could do. And this one's my favorite. I took forever doing the handle. But I really like it. And here my babies all ready to get fired.