Loading video…
All breakouts
55.9Silent UGCHow-To hookCreator Economy
Hook
Cinematic Settings For The Osmo Pocket 3
@eddieolveraa
4.0K followers · usually 441 views a post
Views
32.7K
Likes
1.8K
Comments
15
Shares
118
Why it worked
The video provides immediate, high-value technical advice for a popular piece of hardware, using visually stunning footage to prove the effectiveness of the recommended settings.
Summary
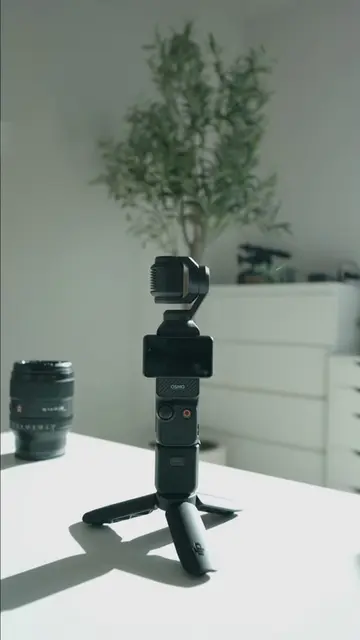
The video provides a quick tutorial on how to configure the DJI Osmo Pocket 3 for cinematic footage. It highlights enabling Pro mode and setting the frame rate and shutter speed for natural motion.
Structure
- 1Introduce the topic of cinematic settings
- 2Showcase high-quality footage captured with the device
- 3Display text instructions for Pro mode
- 4
Original caption
If you want your Osmo Pocket 3 footage to look truly cinematic, it’s all about dialing in the right settings. Here’s what I recommend: 1️⃣ Pro Mode
First things first—swipe right on your Pocket 3 and enable PRO mode (it should turn yellow). This unlocks manual control over your settings, giving you full creative control over exposure, shutter speed, and color. 2️⃣ Shutter Speed & Frame Rate
For smooth, natural motion, set your frame rate to 24fps and your shutter speed to 1/50. This follows the 180-degree shutter rule, creating the same motion blur you see in films. 3️⃣ Resolution
Shoot in 4K for horizontal videos and 3K for vertical to get the sharpest possible image. This also gives you flexibility to crop without losing quality. 4️⃣ ISO Settings
Set an ISO range of 50-800. This lets the camera adjust to lighting changes while keeping noise under control. 5️⃣ ND Filters (Essential for daylight shooting)
These act like sunglasses for your lens, helping you maintain the correct shutter speed in bright conditions. A variable ND filter is ideal since you can adjust it on the go. 6️⃣ Color Profile
Select D-Log M for maximum dynamic range. It’ll look flat out of the camera, but this gives you more control in post-production. You’ll need a LUT from DJI’s website to bring the colors back. 7️⃣ Sharpness & Noise Reduction
Set both to -2 to avoid an overly processed, digital look—especially in low light. 8️⃣ Exposure Control & EV Meter
Switch to manual exposure (M) instead of auto. Keep an eye on the EV meter (below the battery icon)—aim for EV 0 by adjusting your ND filter to avoid over or underexposure. Lock in these settings, and your footage will instantly look more professional. #ocvideographer #osmopocket3 #djiosmo #djiosmopocket3 #videographytips #occontentcreator #dji #cinematic
More from @eddieolveraa
More breakout videos from this creator.