Loading video…
All breakouts
26.2Talking HeadHow-To hookCreator Economy
Hook
how I do my pottery bun
@bysofiay
118.1K followers · usually 49.5K views a post
Views
1.2M
Likes
81.0K
Comments
89
Shares
2.5K
Why it worked
The video provides a clear, step-by-step tutorial for a practical hairstyle that solves a common problem for people engaged in activities like pottery. The visual demonstration, combined with concise on-screen text and spoken instructions, makes it easy to follow and replicate.
Summary
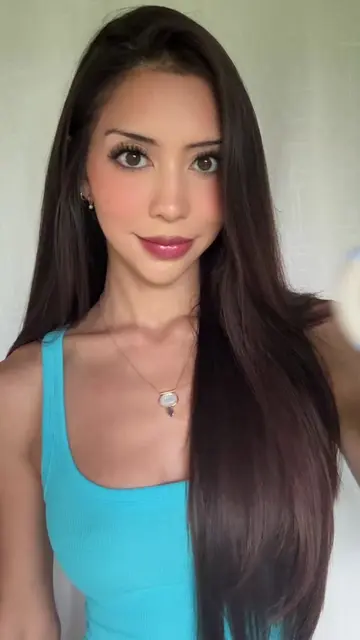
This video demonstrates a hairstyle tutorial for a "pottery bun," a slicked-back bun designed to keep hair out of the face while working with ceramics. The creator shows how to section hair, create a high ponytail, form loops with sections of the ponytail, pin them into a bun shape, and then slick back and pin the front pieces.
Structure
- 1Part hair and section front pieces
- 2Create high ponytail
- 3Form loops and pin into a bun
- 4Slick back and pin front sections
- 5Smooth baby hairs
On-screen text
how I do my pottery bun
be
slick
ceramicist
need
face
version
curls
texture
start
the
bun
spread
evenly
into
working
sections
all
buns
them
toothbrush
styling
hairs
Transcript
I used to be so anti slick back bun, but as a ceramicist I simply need to have my hair out of my face. And I finally found a version that I love. I like doing it on day three curls because they have a little bit more texture and hold. Start by parting your hair down the middle and then section out the two front pieces. Brush everything else into a high ponytail. Then you're gonna spread the ponytail evenly into donut shape. Working in about one inch sections, wrap each piece around two fingers to create a loop and then pin it into place. Repeat this all the way around until the bun is full. Now take those two front sections and slick them back. I just use a toothbrush and then pin them the same way. The last step is to add a little styling cream or hairspray to smooth any baby hairs and that's it.
Original caption
bun tutorial is finally here 🫶🏼 sorry it’s hard to see what I’m doing in some parts!! also I cannot find the girl who originally did this style, so if anyone happens to know pls tag her in the comments xx #hairtutorial #hairbun #hairstyle #slickback
More from @bysofiay
More breakout videos from this creator.