Loading video…
All breakouts
 CapCutseen in 576 videos →
6.3App DemoOther hookEducation
Hook
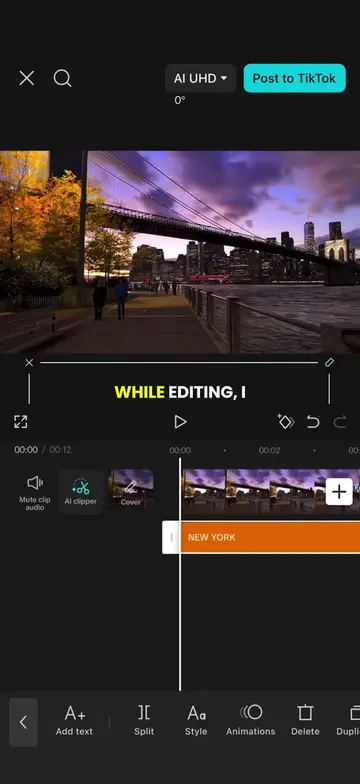
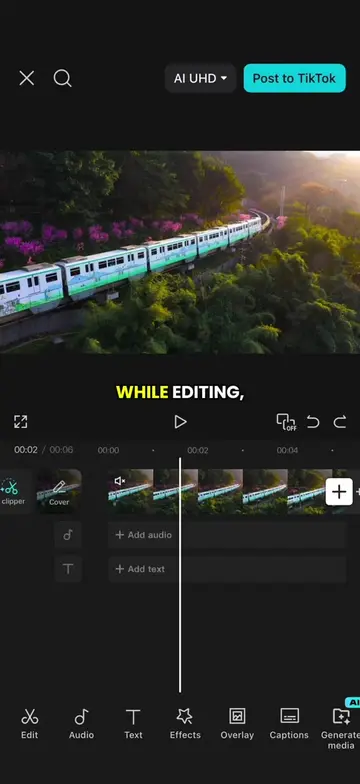
WHILE EDITING,
@ezraed1t
207.0K followers · usually 191.0K views a post
Views
1.2M
Likes
21.9K
Comments
81
Shares
1.1K
Selling · SaaS › Other SaaS
Why it worked
The video provides a clear, step-by-step tutorial for a visually appealing text transition effect, which is a common desire for content creators. The use of native mention and demonstrating the process within the app itself makes it highly practical and easy to follow.
Summary
This video demonstrates how to create a text travel transition effect in CapCut. It shows how to add text, animate it with keyframes for a zoom effect, duplicate and recolor it, and then use chroma key to remove the background, making it appear as a transition between video clips.
Structure
- 1Introduce the problem of uninspired transitions
- 2Create and style text with animation
- 3Duplicate and modify text for a layered effect
- 4Use chroma key to remove background
- 5Export the final video
Product placement
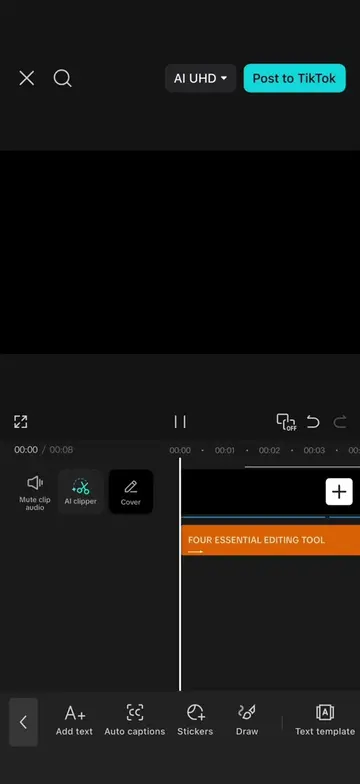
CapCut is used throughout the video to demonstrate editing techniques, including adding text, applying animations, and using chroma key.
On-screen text
WHILE EDITING,
SIMPLY PLACING TWO
DIFFERENT VLOG CLIPS
BACK TO BACK NEVER
FEELS SMOOTH.
EVEN AFTER ADDING
DIFFERENT TRANSITIONS,
THE RESULT STILL LOOK
PRETTY ORDINARY.
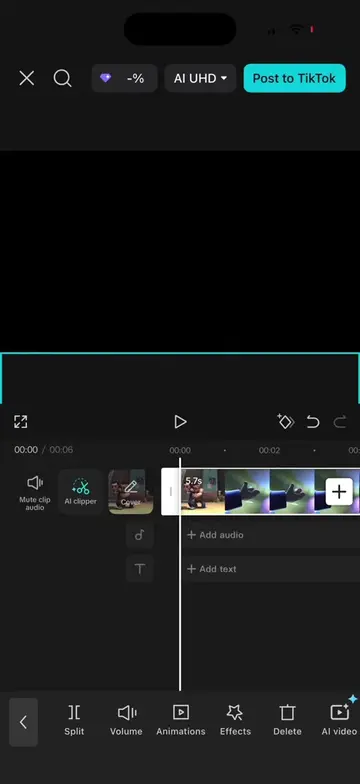
SO I DELETED
THE SECOND CLIP
AND TAPPED TEXT
INSTEAD.
I CREATED A
NEW TEXT LAYER,
ENTERED MY FAVORITE
CAPTION,
CHOSE A FONT I LIKED,
SCALED THE TEXT UP
SLIGHTLY,
AND ADDED A
BLACK SHADOW.
NEXT, I EXTENDED
TO MATCH THE
MAIN CLIP
AT AROUND 0.5
SECONDS. I ADDED
A KEYFRAME,
TO THE END
OF THE TIMELINE
AND SCALED THE
TEXT UP UNTIL
ONLY THE WHITE
ENTIRE SCREEN.
AFTER THAT, I
MOVED BACK ABOUT
1 SECOND AND
DOWN SLIGHTLY,
CREATING A ZOOM
ANIMATION THAT STARTS
SLOWLY AND SPEEDS
END.
THEN I DUPLICATED
THE TEXT LAYER,
COLOUR TO GREEN
AND CHANGE THE
SHADOW TO WHITE.
BLUR TO 0,
THE DISTANCE TO
ANGLE TO 150
ONCE EVERYTHING LOOKED
RIGHT,
ANIMATION.
NEXT, I CREATED
AND IMPORTED MY
VLOG FOOTAGE.
OVERLAY, IMPORTED THE
TEXT ANIMATION I
HAD JUST EXPORTED
AND SCALED IT
THE ENTIRE SCREEN.
FINALLY, I OPENED
REMOVE BACKGROUND,
SELECTED CHROMA KEY,
SAMPLE THE GREEN
INCREASE THE CLEAN
UP EDGE SLIGHTLY
BACKGROUND DISAPPEARED CLEANLY.
CONGRATULATIONS. TODAY YOU
LEARNED A TEXT
TRAVEL TRANSITION EFFECT.
Original caption
Episode 64 | Text travel transition effect #CapCut #capcutpioneer #transition #tutorial #editingtips
More from @ezraed1t
Their other posts in the index, biggest breakout first.