Loading video…
All breakouts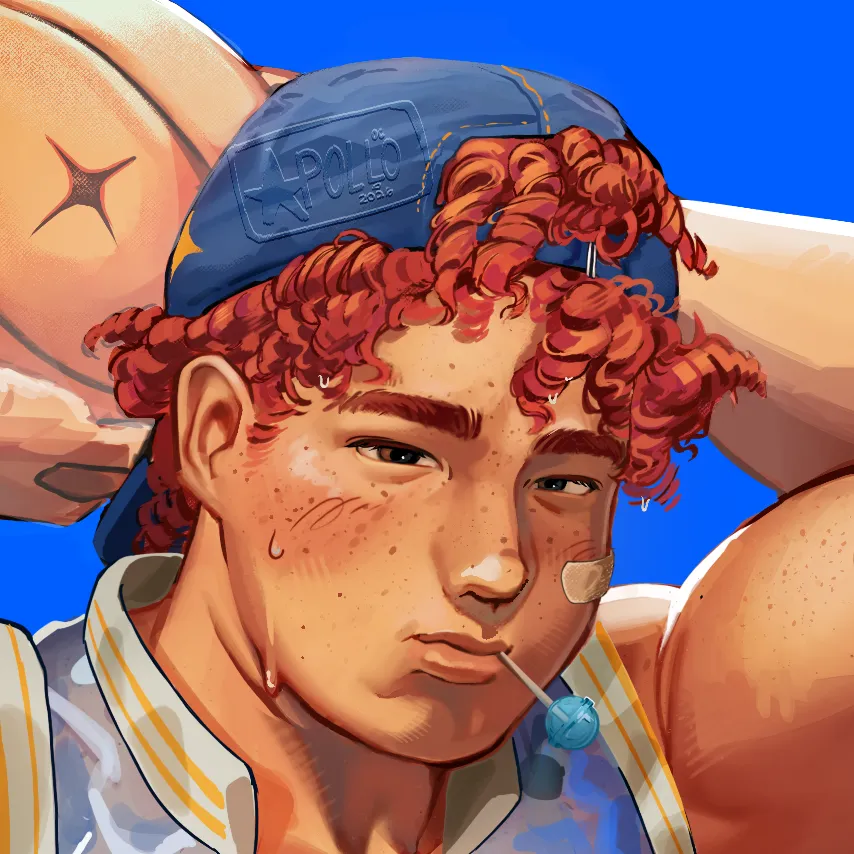
62.5App DemoHow-To hookCreator Economy
Hook
How I photobashed my OC's
@sharkojo0
3.0K followers · usually 2.6K views a post
Views
160.7K
Likes
23.2K
Comments
220
Shares
787
Why it worked
The video provides a clear, step-by-step tutorial on a popular digital art technique, appealing to creators and artists interested in character design and photobashing. The use of visual demonstrations and on-screen text makes the process easy to follow.
Summary
The video demonstrates a digital art process of photobashing to create original characters. It shows the steps of finding reference images on Pinterest, preparing them by converting to grayscale, and then combining different parts of images to form a new character. The creator also explains how to add color and texture to finalize the artwork.
Structure
- 1Finding reference images on Pinterest
- 2Preparing images (grayscale, background removal)
- 3Combining image parts (photobashing)
- 4Adding color and saturation
- 5Applying effects and noise for realism
Product placement
Pinterest (ACTS - used to find reference images, removing it would change the process shown); FaceApp (APPEARS - watermark on images, removing it would not change what happens in the video)
On-screen text
How I photobashed my OC's
Our victim:
Christian
(Apollo's Co
basketball member)
First, went on Pinterest to find the pictures I want to use for him.
Be specific, you'll eventually find what you're looking for.
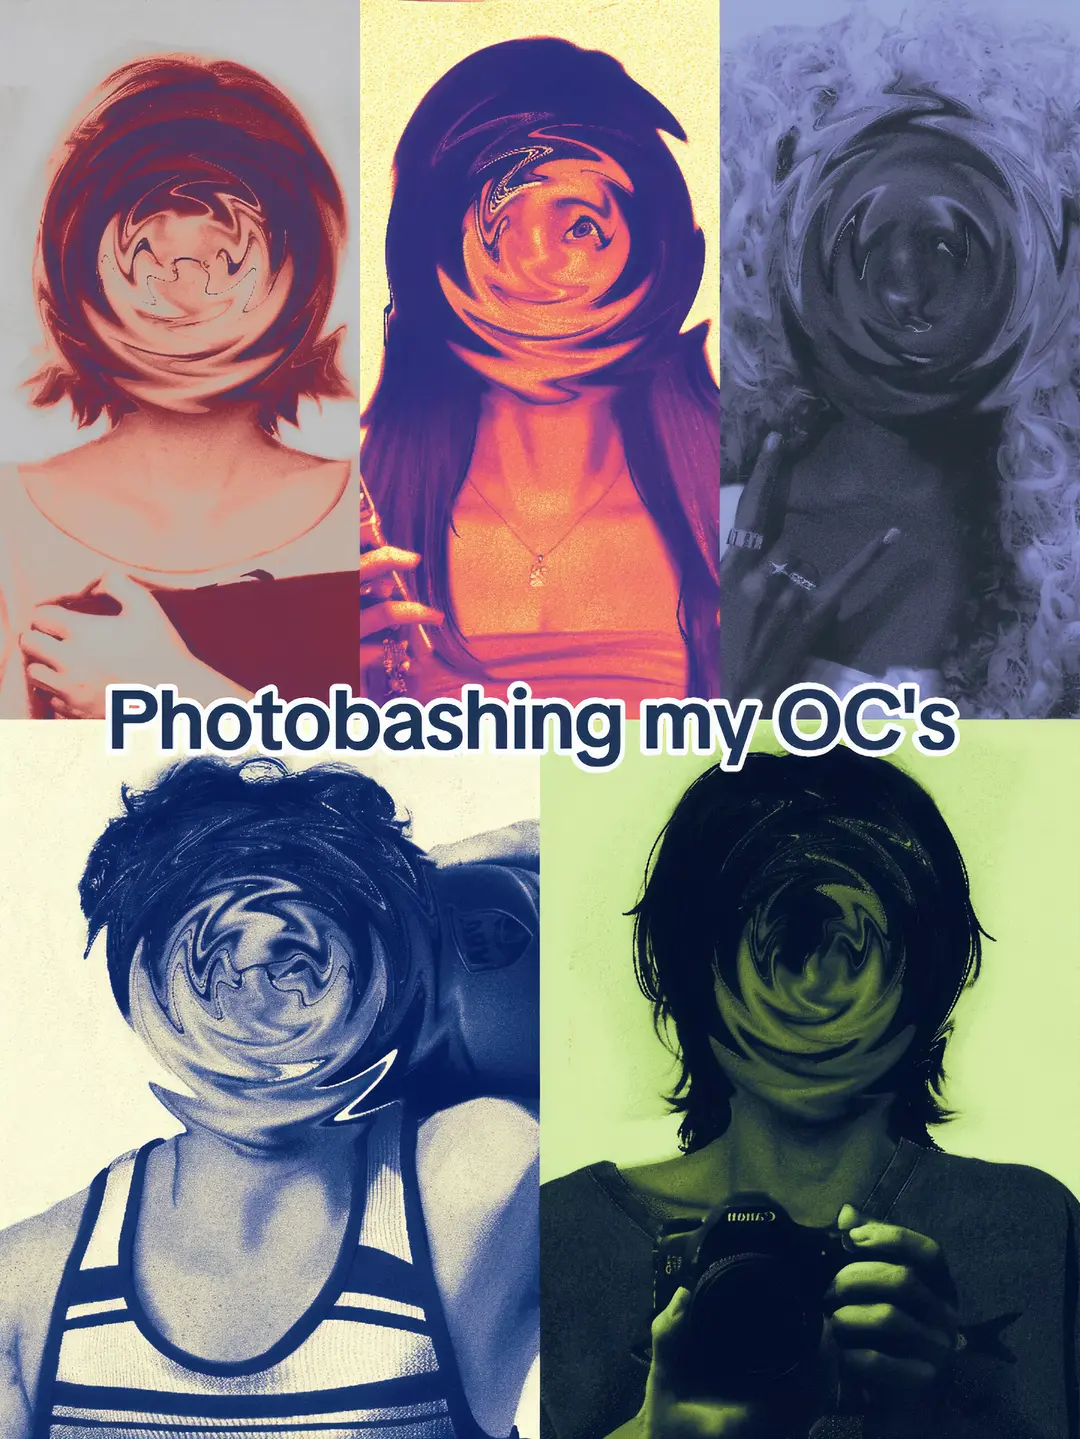
Here are the pictures I chose.
Body
Arms
Head
Eyes
Mouth
Nose
Eyebrows
Hair
Shirt
Set all pictures to grayscale.
I usually like to start with connecting the head and arms to the body.
I lost footage of me connecting the head to the body but you get it.
Remove the background first, then slowly erase around the eyes. Use the soft eraser for this.
I lower the opacity of the picture then, I try to match it with the picture below, it helps with anatomy.
I got lots of comments on how I isolate the hair, it's pretty much the same but I mostly just use a soft eraser.
Now for coloring, make a new layer, set it's color mode to "color", then clip it your photobashed picture.
Just pick your colors, then go crazy with it.
earlier I
lightened his hair up
that's because if it
were dark, the colors
we put on it would
also turn dark and
black.
For blush and other
pigments of the skin,
I use a second layer
that's set to "multiply"
and clip it on top
of the photobashed layer.
Here I just fixed up his
colors and saturation.
I also messed with
some effects as well.
This is optional get
crazy with it.
And LASTLY, go to effects
and add the noise effects
to add texture to the
photobash. Doing this can
make the picture more
realistic.
Original caption
#OC || Here is the tutorial, sorry for the wait... || #photobashing #digitalart #myart #trend
More from @sharkojo0
More breakout videos from this creator.