Loading video…
All breakouts
652App DemoHow-To hookCreator Economy
Hook
Tutorial on how to make a digital product & sell it with NO LISTING FEE!
@raket.ph
159.3K followers · usually 6.9K views a post
Views
4.5M
Likes
270.2K
Comments
1.9K
Shares
21.6K
Promoted product
Raket.phhttps://www.raket.ph ↗
Why it worked
The video provides high-value, actionable educational content that solves a specific problem (creating and selling digital products) while seamlessly integrating the sponsor's platform as the logical solution.
Summary
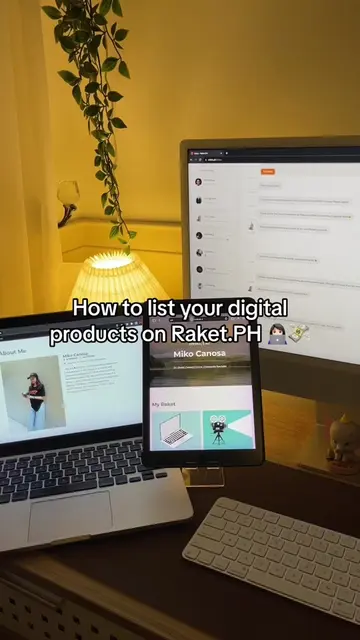
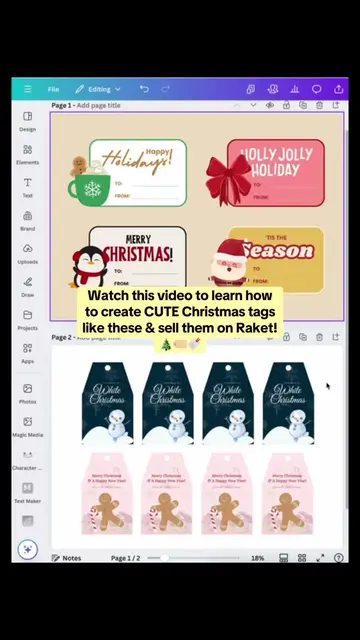
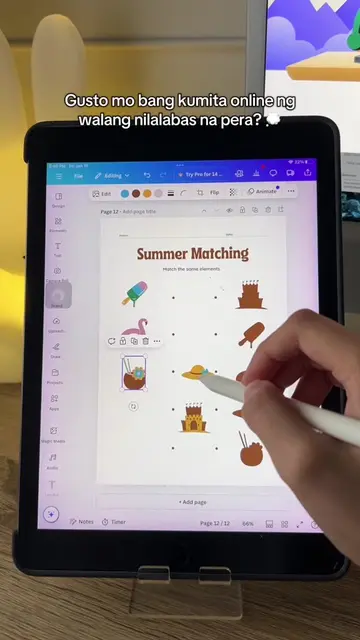
This video provides a step-by-step tutorial on designing a clickable digital planner using Canva. It then demonstrates how to list and sell that digital product on the Raket.ph platform without incurring any listing fees.
Structure
- 1Introduction to the tutorial
- 2Designing the digital planner in Canva
- 3Adding clickable navigation tabs
- 4Exporting the planner as a PDF
- 5Setting up a product listing on Raket.ph
Product placement
The video features Canva for the design process and Raket.ph as the marketplace for selling the digital product.
Call to action
Go to www.raket.ph to sign up and sell your digital products.
On-screen text
Original caption
Learn how to create a clickable digital planner and sell it with NO LISTING FEE! 💯 #digitalproducts #raketph #ecommerce #onlineshop #fyp #canva #canvatutorial #digitalplanner
More from @raket.ph
More breakout videos from this creator.
![💡 [Tutorial] - Here's a trick on how to add a perspective effect to your images](https://tiktokspy.sfo3.digitaloceanspaces.com/covers/7424411375801224455.jpg)



![[Tutorial] Here’s how to create a digital scrapbook on Canva! #raketph #fyp #pa](https://tiktokspy.sfo3.digitaloceanspaces.com/covers/7463408608244501778.jpg)