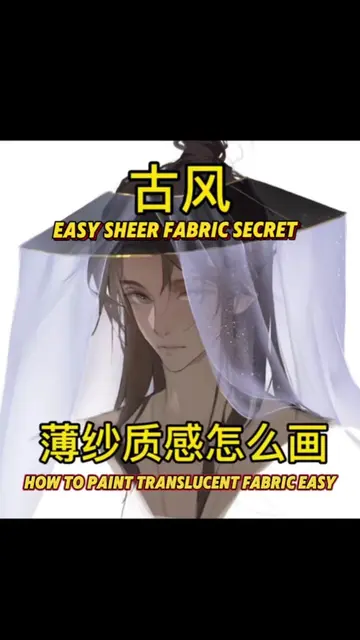
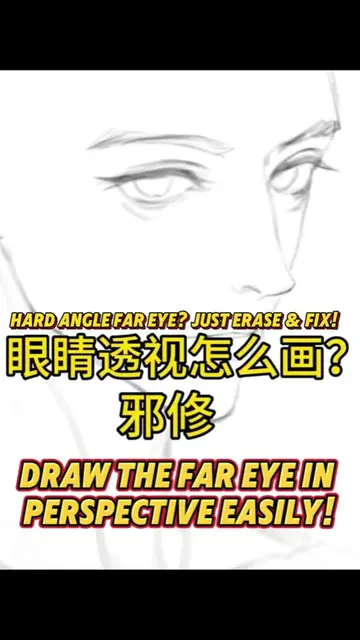
Loading video…
All breakouts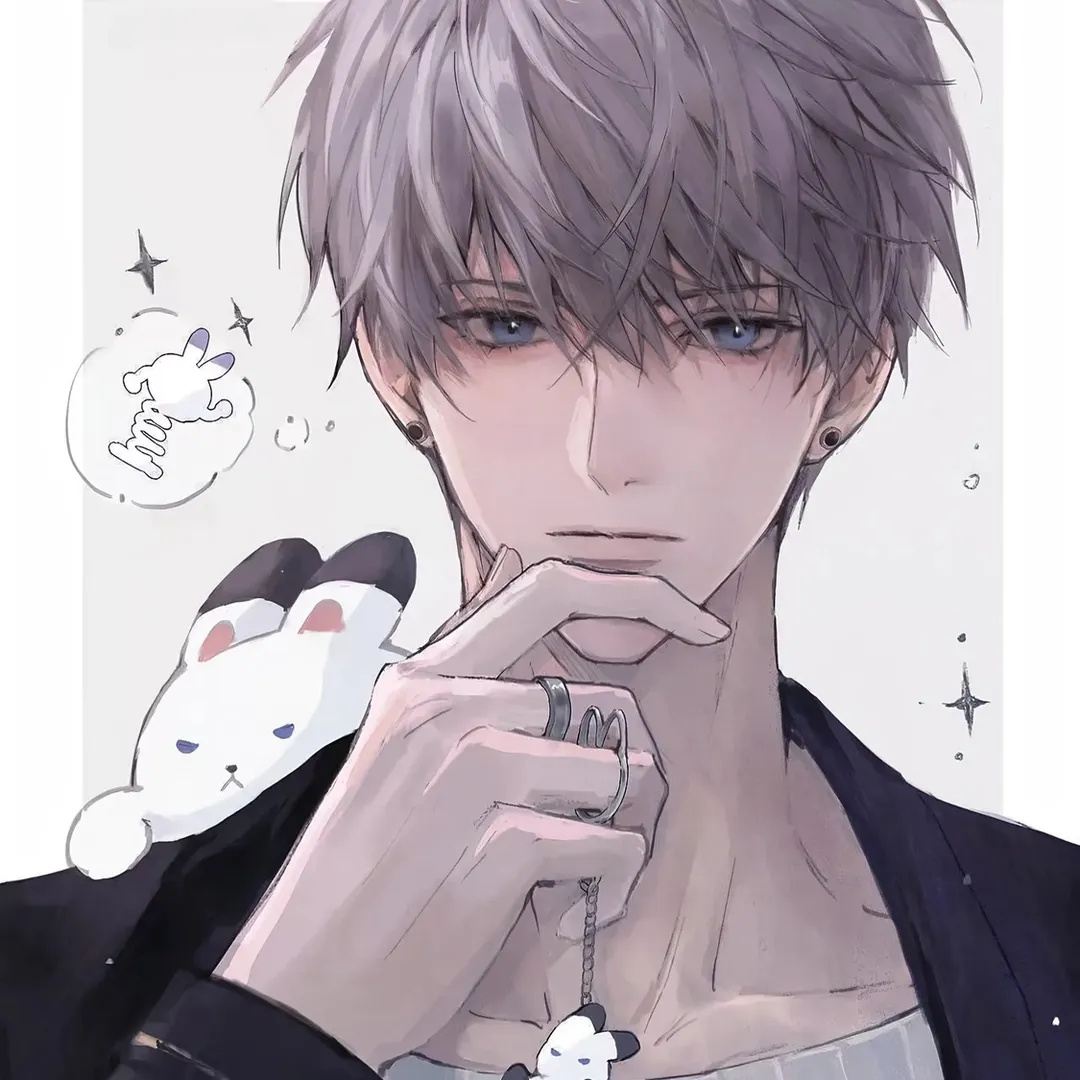
25.7App DemoDirect Question hookEducation
Hook
Are you still coloring clothes like this?
@lanla576
30.8K followers · usually 10.6K views a post
Views
273.1K
Likes
50.4K
Comments
66
Shares
2.8K
Why it worked
The video provides a clear, step-by-step tutorial on a specific digital art technique (cel shading fabric) that is visually demonstrated with on-screen actions and explanations. The use of analogies (cylinders for arms) and common art principles (form follows function) makes the complex topic accessible.
Summary
This video demonstrates how to cel-shade clothing in digital art. It covers understanding form and structure, applying base colors, blocking in shadows based on cylindrical forms, rendering fabric folds as triangles, and using smudge and eraser tools to refine the shading. Finally, it explains how to add color using overlay layers for ambient occlusion and reflected light.
Structure
- 1Introduction to cel shading clothing and preparing a sketch
- 2Understanding form and structure with cylinders
- 3Applying base color and blocking in large shadow planes
- 4Rendering fabric folds as triangular shapes
- 5Refining shadows with smudge and eraser tools
- 6Adding ambient occlusion, deeper accents, and color with overlay layers
On-screen text
Are you still coloring clothes like this?
OK, today I'll walk you through cel shading for clothing.
You can prepare a rough sketch like this—it doesn't need to be super detailed.
Then fill in a light gray base/flat layer underneath.
You've probably heard the saying: clothing must follow the underlying anatomy and form, right?
But what does "form and structure" actually mean here?
We can draw two cylinders to represent the upper arm and forearm.
The fabric simply drapes over these two cylindrical forms.
When doing basic cel shading, where should the core shadows go? Definitely not like this, right?
Think of it this way: this side of the cylinder represents our shadow plane.
Once you grasp this concept, we can dive right into shading.
Create a new Multiply layer over our base layer.
Just like those two cylinders earlier, fill the right-hand side with shadow values.
For the forearm, same idea: shade the underside and bottom area.
The inside of the sleeve cuff should also be blocked in with shadow.
Since part of the torso is visible, block in its main shadow plane as well—keep it simple and straightforward.
After establishing the large-scale shadow planes, we can move on to smaller details.
As we know, fabric folds form triangular compression folds when pinched.
How should we render these triangles? Pick any spot like here—and block in a triangular shape.
After blocking in one triangle, what next? Follow the flow and add another neighboring triangle.
If an area feels a bit too blocky or squared-off, patch it with another quick triangle.
For instance, over here—let's add another fold triangle right here.
Keep in mind: these fold triangles don't all need sharp, pointy tips.
You can make some blunted or rounded at the ends like this.
Since this fold is stretched out, extend the shape longer.
Echo the tension coming down from the shoulder.
Notice how we've been using additive shading? We can also use subtractive shading by erasing back into the shadow.
Here's how: carve back into the shadow edge with your eraser.
Doesn't matter if the point is sharp or blunt, as long as it reads as a triangular fold shape.
Keep in mind that the drape from the shoulder falls naturally downward.
To show natural gravity and drape, taper the top slightly narrower.
Now follow the gesture down to this area. What should we do here?
Same thing—it's still triangular forms, but here you carve out a triangle using the eraser.
See that? Since our character is in a 3/4 front view... this shadow plane feels a bit too wide. Simply erase a strip to narrow it down.
For the remaining fabric folds, apply the same technique: build up and carve out triangular shadow shapes.
Tip: Keep fold variations natural and avoid repetitive, uniform patterns.
Once this step is complete, you'll see the basic structure and silhouette of the fabric folds taking shape.
However, the shadows look a bit too harsh and hard-edged. How do we fix this? Grab your Smudge Tool.
Let me correct a common mistake here. Taking this shadow block as an example:
Many beginners blend back and forth across the whole shadow. The result? It looks muddy and blurry!
The proper technique: blend only one side of the shadow. Smudge the top arc of this fold, but leave the bottom edge hard.
Soften one half, keep the other half crisp. Blend out this section, but preserve the hard lost-and-found edge at the turn.
Remember: Never blend out an entire shadow block uniformly. Balance soft and hard edges.
For tight, narrow folds, zoom in on your canvas and lower your brush size.
Lightly feather the edge like this.
(If your style leans towards flat cel-shading, use less smudging. Leave the top untouched and soft-blend downwards following the clothing flow.
If there's a waistband tight against the fabric, add a quick fold triangle and blend one side out.
Practice this a few times and it will become second nature! Just repeat: blend one edge, keep one edge sharp.
Once you finish this pass, notice how the fabric instantly takes on a soft, natural material texture.
(Keep your primary shadows clean—toggle off lineart to check). Next step: add ambient occlusion (AO) and deeper accents.
Accentuate dark crevices like inside the sleeve cuff.
Finally, create a Soft Light layer to airbrush in subtle bounce light / reflected light.
Then pinpoint occlusions in tight corners and deep creases to pop the depth.
Students often ask me: "How do I convert a grayscale cel-shaded sketch into color?" It's super easy!
Create a new Overlay layer.
(Add ambient reflections on another Overlay layer, then render fine details). Want blue? Brush blue over it. Green, pink, or yellow? Just wash your desired color over the values!
Original caption
Easy Fabric Cel Shading Trick! | How to Paint Clothes & Folds 📌 Original Video Link: 【https://v.douyin.com/lsTPCnt5wWo/ :1pm D@u.se aan:/ 05/20 】 🎨 Artist: 三三三醒 Translated from a Xiaohongshu (REDnote) or douyin art tutorial. All credits go to the original creator! If you enjoyed this tutorial, please head over to the original post to support the creator!#animeart #arttutorials #xiaohongshuart #animearttutorial #drawingtutorial
More from @lanla576
More breakout videos from this creator.