Hook
More breakout videos from this creator.

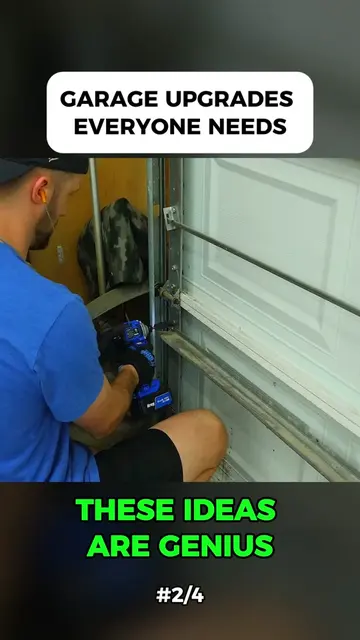
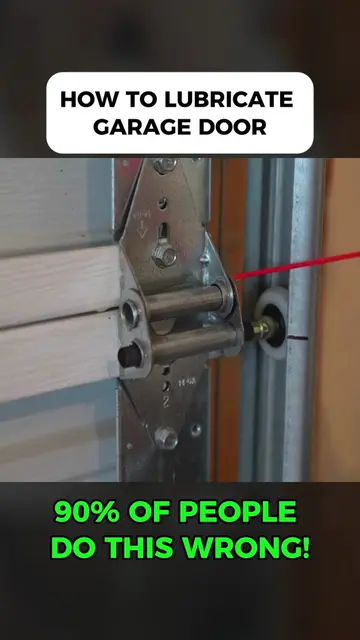
Take a quick look, compare the hinges together, just to make sure that the bolt holes are very similar and you've got the same spacing. And the hinge basically looks pretty much identical. Fortunately, these green hinges look perfect compared to the original. So now we're ready for our tools, which fortunately are pretty basic. You could just use a wrench for the job, but I would highly recommend getting a socket. This particular one is 7/16th, but you might be different. The key here is getting one of these socket adapters. This allows your socket to be used by something like a cordless screw gun or an impact driver. This particular one is 7/16th, but you might be different. The key here is getting one of these socket adapters. This allows your socket to be used by something like a cordless screw gun or an impact driver. And do not remove all the hinges at once. You don't want to really have much in the middle hole. You just do each hinge completely. And of course, once you get all these bolts removed, you can take off the hinge, but you'll notice sometimes the roller kind of sticks in there. So you simply rotate it around the lip and now you can remove it completely. Remove your old roller or use your new replacement and insert it into the green hinge in the lower tube. As shown, and then you can replace that hinge, kind of tucking it back in the lip and holding it in position on the door. When you go to put this in, it's tempting to just go ahead and put all the bolts right in place, but if you do that, you're going to get stuck because underneath that roller pin is a slot that can be slid back and forth. But if you've already put other bolts in place, you won't be able to slide it. So get it in nearly the way, but don't tighten it completely. Now you can go ahead and do the remaining bolts. The difficult bolt that is under the pin, you only have to do just a couple of turns because you've already done most of the work when you slid that hinge up in position. Now, make sure that you are replacing each hinge with the same number. In my case, it's 1, 2, 3, 4. Now go and repeat the process for the remaining hinges. In my case, it's 8 hinges total. But your door may be different. If you have a double wide door, they have hinges for that or if your door is actually commercial or much taller, they also have models to accommodate that as well. But once your job is done, you can go ahead and replace the power cord or turn the breaker back on and test the door. Good. And now because those hinges are exerting just a little bit of pressure while the door is operating, you're going to lose all that slack. And I think anything you can do to make it operate better is definitely a good idea. And you're not going to have those bizarre gaps that might show up. What I like best about these hinges is how they work with your existing garage door. And considering the average garage door could be opened almost a thousand times a year, I think anything you can do to make it operate better is definitely a good idea. And you're not going to have those bizarre gaps that might show up.