Loading video…
All breakouts
10.9Talking HeadHow-To hookLifestyle
Hook
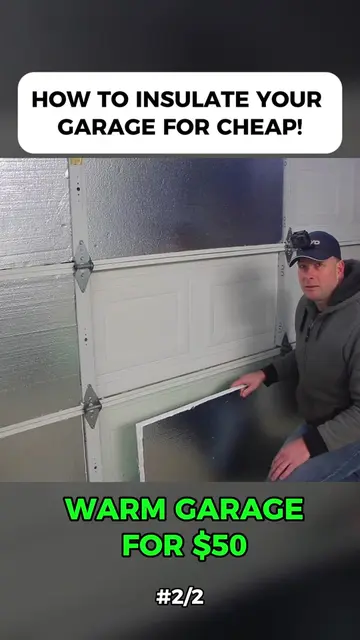
HOW TO INSULATE GARAGE DOOR
@mason_reed224
18.0K followers · usually 9.2K views a post
Views
100.8K
Likes
1.2K
Comments
16
Shares
631
View velocity
+9.8K views over 14.7d · ~668/day · 13 observations
Why it worked
The video provides a clear, step-by-step DIY guide for a common home improvement task, emphasizing affordability ('Under $100!!!') and a satisfying outcome. The visual demonstration of the process, combined with practical tips for fitting and securing the insulation, makes it highly shareable and useful for a broad audience.
Summary
This video demonstrates how to insulate a garage door using bubble foil insulation. The process involves cutting the insulation to size for each panel, securing it with foil tape, and ensuring a snug fit around brackets and hinges. The project is presented as a cost-effective DIY solution that can be completed in a few hours.
Structure
- 1Introduction and overview of insulating a garage door
- 2Measuring and cutting insulation panels to fit garage door segments
- 3Applying insulation panels to the garage door
- 4Taping the insulation panels together and to the door
- 5Addressing smaller sections and hinges
- 6Final result and cost/time summary
On-screen text
HOW TO INSULATE
GARAGE DOOR
UNDER $100!!!
Original caption
Insulating a Garage Door Made Easy. #GarageDoorRepair #DIYHomeRepair #FixItYourself #HomeMaintenance #HomeRenovation #HomeProjects #HowTo #fyp #trendingvideo #viral
More from @mason_reed224
More breakout videos from this creator.