Loading video…
All breakouts
4.6Talking HeadOther hookCreator Economy
Hook
Day 8 of
@klea.turner
42.4K followers · usually 3.7K views a post
Views
15.9K
Likes
1.5K
Comments
19
Shares
14
Promoted product
quilt
Why it worked
The video provides a clear, step-by-step tutorial on a specific quilting technique, appealing to crafters and DIY enthusiasts. The creator's personal touch and gratitude at the end foster a sense of community and encourage viewer engagement.
Summary
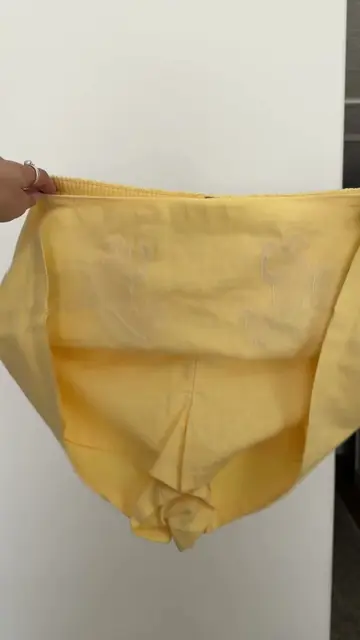
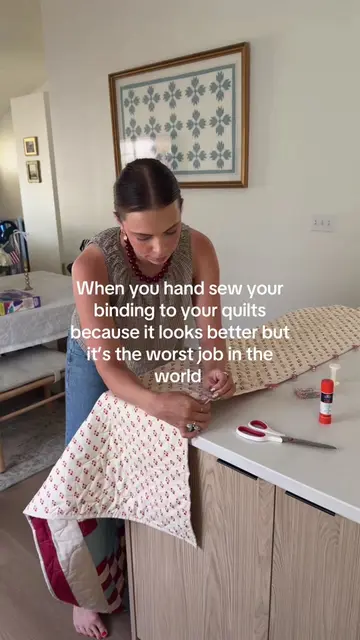
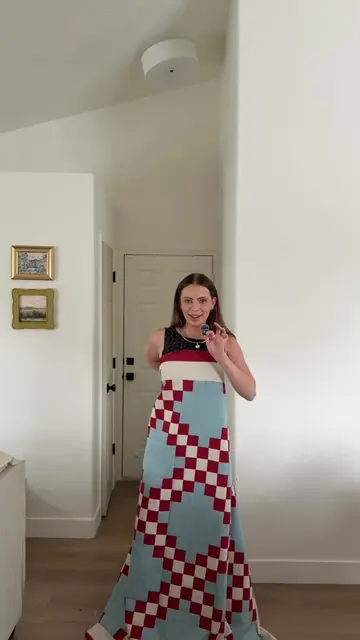
This video demonstrates the final steps of finishing a quilt, specifically attaching the binding to the back. The creator shows how to join the binding ends, secure them with a glue stick and clips, and then hand-sew the binding for a clean finish.
Structure
- 1Joining the binding ends
- 2Measuring and cutting the binding
- 3Attaching the binding to the back
- 4Hand-sewing the binding
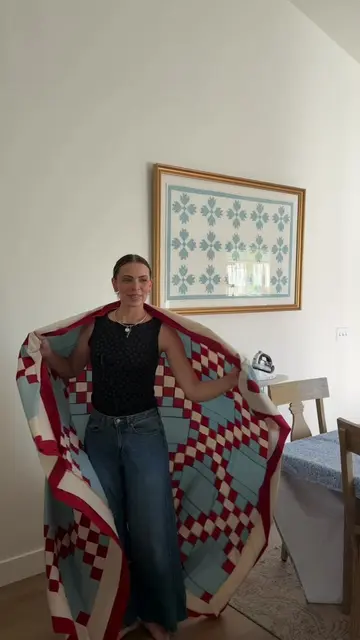
- 5Showcasing the finished quilt
Product placement
Janome sewing machine: it is used to sew the quilt binding. Removing it would change the video. Elmer's Craft Bond Extra Strength Glue Stick: it is used to temporarily hold the quilt binding in place before sewing. Removing it would change the video.
On-screen text
Day 8 of
Klea's
Quilting
Class
The finale!
Original caption
We made it to the end! I can’t believe this quilt is finally finished 🥹🫶🏻 whether you’re new or have been here a long time, thank you SO much for following along! Love you guys sm 🥹🤍 #quilttutorial #quiltingtiktok #quiltbinding #tutorials #crafttok
More from @klea.turner
More breakout videos from this creator.