Loading video…
All breakouts
4.9App DemoHow-To hookEducation
Hook
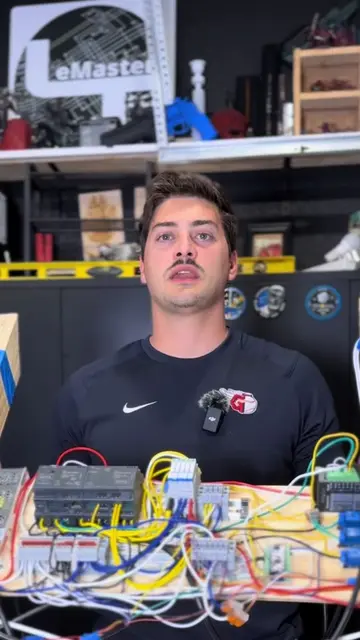
Today we're going to continue taking a look at the basics of building an industrial control cabinet.
@lemastertech
46.7K followers · usually 10.4K views a post
Views
47.4K
Likes
3.0K
Comments
36
Shares
60
Promoted product
industrial control cabinet components
Why it worked
The video provides a practical, step-by-step guide to a specific task within a niche but popular field (industrial automation/PLC programming). The use of clear visuals and concise explanations makes it easy to follow and replicate, appealing to DIY enthusiasts and professionals alike.
Summary
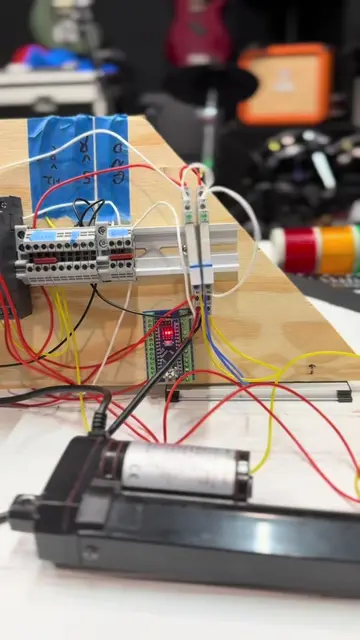
The video demonstrates how to install din rail and wireway onto the backplane of an industrial control cabinet. It explains the purpose of these components and shows how to position them for optimal layout and organization of electrical components.
Structure
- 1Introduction to industrial control cabinet basics
- 2Explanation of the backplane and its function
- 3Demonstration of installing din rail and wireway
- 4Discussion of component placement and layout
- 5Showcasing the completed backplane with installed components
Product placement
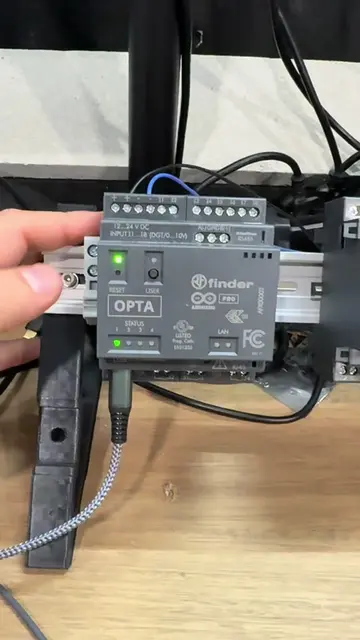
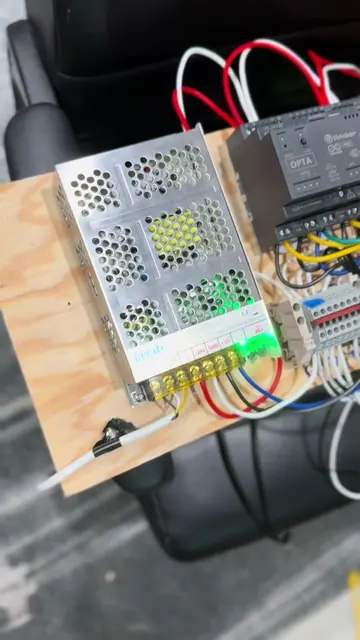
The video shows and discusses the installation of din rail and wireway, which are components used in industrial control cabinets. It also shows self-tapping sheet metal screws and a PLC with terminal strips and relays.
On-screen text
410 Stainless Steel #8 Sheet Metal Screws
Screwdriver Bit
1/2" (13mm)
#8x1/2"
5/8" (16mm)
#8x5/8"
3/4" (19mm)
#8x3/4"
1" (25mm)
#8x1"
120 pcs
QSJ
Original caption
Adding DIN Rail and Wireway to our Cabinet Backplane! #plc #automation #engineering #electric #robotics
More from @lemastertech
More breakout videos from this creator.