Loading video…
All breakouts
6.0Talking HeadOther hookEducation
Hook
Welcome back to Automation Nations!
@lemastertech
46.7K followers · usually 10.4K views a post
Views
58.4K
Likes
4.0K
Comments
52
Shares
102
Why it worked
The video provides a practical, step-by-step demonstration of a common industrial automation task, appealing to a niche audience interested in engineering and DIY projects. The clear visuals and explanation of component placement and testing make it informative and engaging for viewers looking to learn about control panel assembly.
Summary
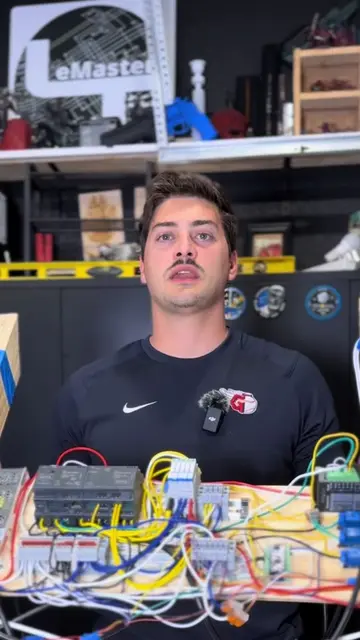
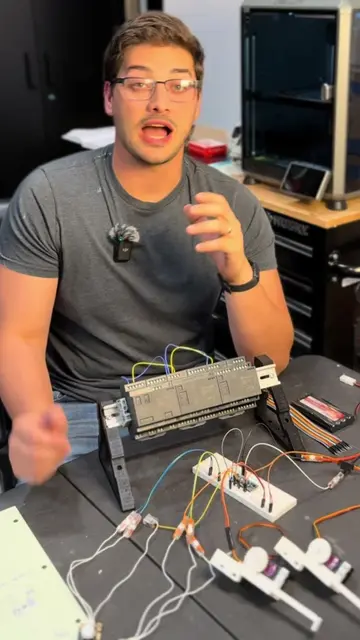
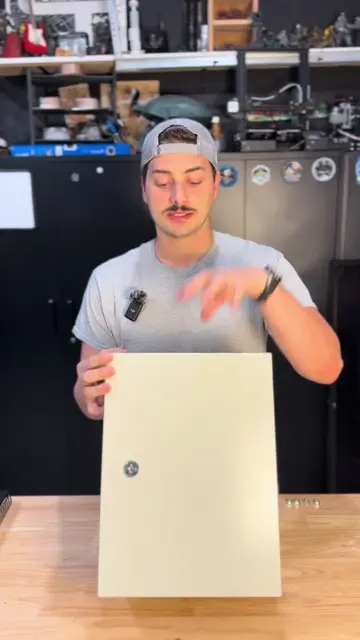
The creator demonstrates how to drill holes in an industrial control panel door to mount push buttons, hand switches, and indicator lights. They then test the functionality of these components by directly wiring them to a 24-volt power source to illuminate the indicator lights, proving the wiring and layout are correct before integrating them with a PLC in a future video.
Structure
- 1Introduction and overview of the project
- 2Removing the sub-panel for easier component mounting
- 3Drilling holes for indicator lights, push buttons, and hand switches
- 4Testing the components with direct 24V power
- 5Demonstrating the functionality of the buttons and lights
- 6Outlining the next steps: wiring to PLC and programming logic
Product placement
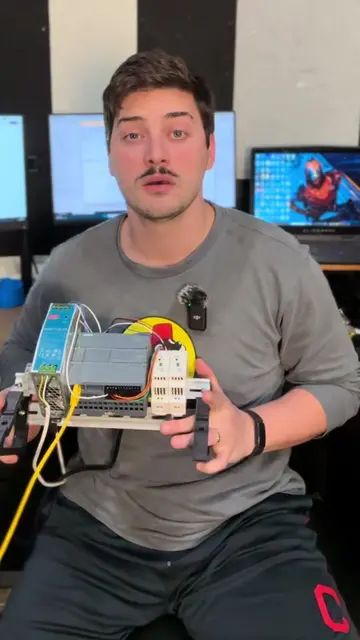
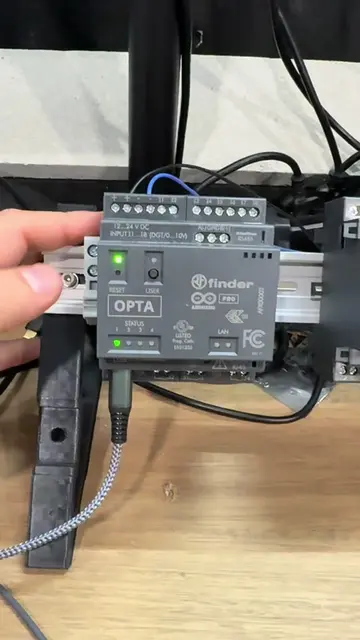
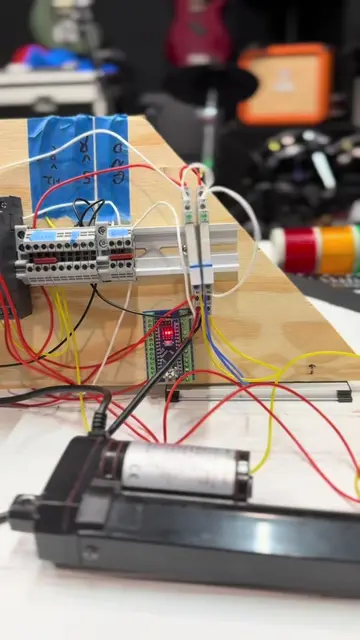
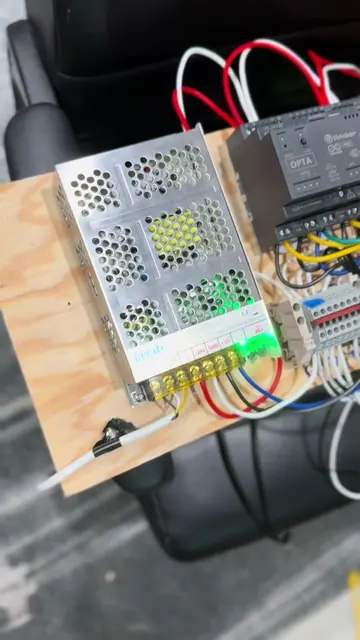
The video features various industrial control panel components such as a PLC (Finder OPTA), power supply (NDR-120-24), circuit breaker, push buttons, hand switches, and indicator lights. These are shown being mounted and wired into a control panel.
Original caption
Adding IO Points to our industrial electrical control panel! #electrical #automation #plc #engineering #robotics
More from @lemastertech
More breakout videos from this creator.