Loading video…
All breakouts
 Proxmoxseen in 4 videos →
3.1App Demo
Hook
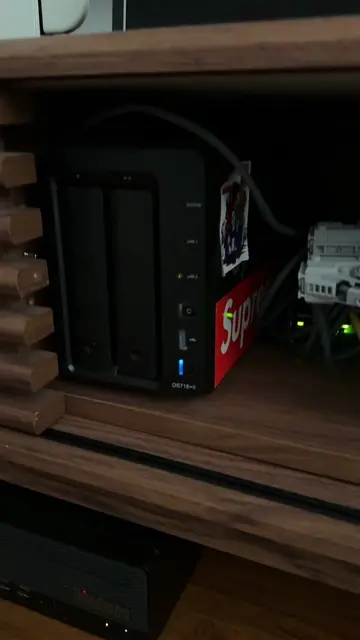
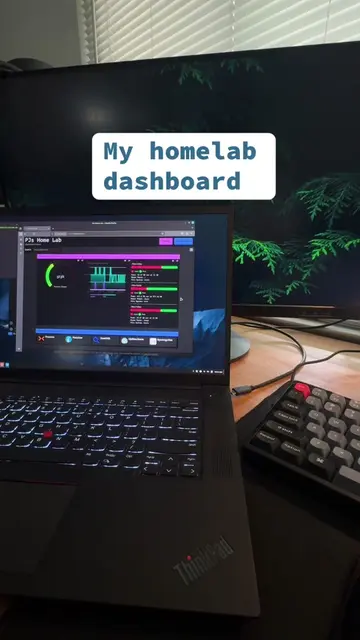
Had an extra laptop lying around.
@pjsonthecloud
2.9K followers · usually 4.5K views a post
Views
13.9K
Likes
510
Comments
15
Shares
6
Selling · SaaS › Other SaaS
Why it worked
The video demonstrates a practical and relatable process for tech enthusiasts interested in homelabbing and virtualization. The clear demonstration of adding a new node to a Proxmox cluster provides value and showcases the software's functionality in a real-world scenario.
Summary
The creator adds an extra laptop to their Proxmox cluster by installing and configuring Proxmox VE on it. The video shows the installation process and the final integration into the existing cluster.
Structure
- 1Setting up a new laptop
- 2Installing Proxmox VE
- 3Integrating the new node into the cluster
- 4Confirmation of successful integration
Product placement
Proxmox: This is a virtualization management platform. It ACTS as the operating system for the cluster, allowing the user to manage virtual machines and containers. Its interface is operated and visible throughout the video. Removing it would change what happens in the video.
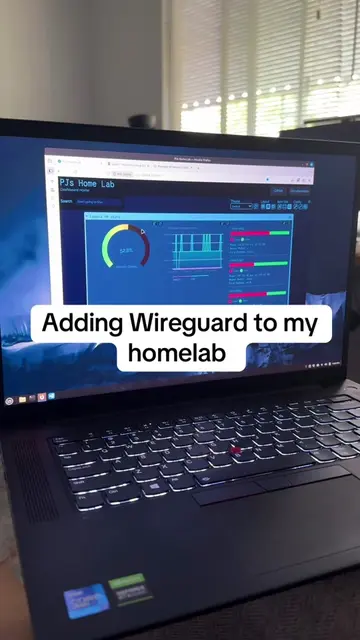
ThinkPad X1: This is a laptop computer. It APPEARS as the hardware on which Proxmox is installed. Removing it would not change what happens in the video, as the focus is on the software.
Intel vPro: This is a processor technology. It APPEARS as a sticker on the laptop. Removing it would not change what happens in the video.
Original caption
Just for fun #proxmox #selfhosted #Tech #docker #homelab
More from @pjsonthecloud
Their other posts in the index, biggest breakout first.